
and maybe some talent Ha
Results 826 to 850 of 3091
-
09-25-2012, 01:52 AM #826
 Registered User
- Join Date
- Sep 2012
- Posts
- 5
-
09-25-2012, 01:57 AM #827
 Registered User
- Join Date
- Nov 2006
- Location
- utar
- Posts
- 2,741

 [/QUOTE]
I love it!! Originally Posted by SpinalTap

-
09-25-2012, 07:31 AM #828
 Registered User
- Join Date
- Sep 2007
- Posts
- 2,503
Bendtheski. Nice looking chair. Cool house too...where is that?
-
10-06-2012, 05:30 PM #829
 Registered User
- Join Date
- Mar 2005
- Location
- The Banana Belt of Montana
- Posts
- 563
Just finished my new resort pack for this season.


-
10-06-2012, 06:14 PM #830
 can fly!
- Join Date
- Jan 2004
- Posts
- 18,825
fkna good job!
maybe needs some load lifter straps? might help suck it up and around your shoulders better when loaded with skis and help keep the skis from hitting your calves
I know, mostly low profile for riding the lifts - a small nitpick I noticed
looks good
is the white fabric truck tarp cloth? burleyI didn't believe in reincarnation when I was your age either.
-
10-06-2012, 06:40 PM #831
Registered User
- Join Date
- Mar 2005
- Location
- The Banana Belt of Montana
- Posts
- 563
Lifters straps are going to be the next thing that I add to the pack, after throwing a pair of skis on it. Wont be to hard to add a set.
White material is actually 1000d cordura that I had sitting in my material pile. I also has a second piece of black 1000d underneath it to hide the seams. So three layers of 1000d including the red where the ski edges touch the pack.
-
11-03-2012, 04:33 PM #832
 Not a Local
- Join Date
- May 2006
- Location
- Corner of Percocet and Depression
- Posts
- 4,181
Been working a big gut and remodel. We pulled and replaced almost all the joists out of this house due to moving load bearing walls and generally undersized members. Lots of pretty fun problems to solve due to the architect not looking at the way joists ran and ended then decided to remove two thirds of the central load bearing wall in the house. Thus you'll see the beam we had to install under the existing joists.
Existing sans sheet rock
Some of the new framing
Sheetrock and beam to be cased. There will be a big island framed by the columns.
New porch ceiling
Building cabinets now. I'll get more photos up as it moves into trim.
-
11-03-2012, 05:25 PM #833
can fly!
- Join Date
- Jan 2004
- Posts
- 18,825
Knocker!I didn't believe in reincarnation when I was your age either.
-
11-08-2012, 04:54 PM #834
can fly!
- Join Date
- Jan 2004
- Posts
- 18,825
This week's project. All recycled material except for the mortar for the firepit that I bought at the Habitat store for $2.I didn't believe in reincarnation when I was your age either.
-
11-08-2012, 11:20 PM #835
 Registered User
- Join Date
- Jan 2006
- Location
- Alpine Meadows, CA
- Posts
- 4,461
**
I'm a cougar, not a MILF! I have to protect my rep! - bklyn
In any case, if you're ever really in this situation make sure you at least bargain in a couple of fluffers.
-snowsprite
-
11-13-2012, 11:26 PM #836
Registered User
- Join Date
- Oct 2011
- Posts
- 265
Soooo...I recently acquired 10 sheepskins. Working on making myself a hat. Got some details and a chin button to add, but that'll come later. My needles are wrecked. More hats, mittens, and a jacket to follow.
I'm retarded with 'puters. How do I make the picture not sideways?
-
11-14-2012, 09:32 AM #837

 Living the Dream
- Join Date
- Dec 2007
- Location
- The better LA
- Posts
- 2,818
THAT is cool Originally Posted by Yeah!
Originally Posted by Jer
Originally Posted by Ian Malcolm
-
11-18-2012, 08:56 PM #838
 Registered User
- Join Date
- Nov 2011
- Posts
- 3,738
My Saturday afternoon project....
A while ago my neighbors are moving out and they put out a pair of Design Acoustic ps-10 speakers. I ask them whats up. They tell me that they are shot and they are using different speakers now, take em' if you want em'.
The usual culprit is dried out foam from the woofers on these. Sure enough. I order a replacement foam kit ($20.00) and get busy. Clean out the old foam, install the new ones, wire em' up and BOOM (in a good way), they sound great and saved them from the dump.


(downward facing woofers)
-
11-18-2012, 09:01 PM #839Hugh Conway GuestSo yer like a Kiwi Green River killer? Originally Posted by Yeah!
-
11-18-2012, 09:19 PM #840
 Registered User
- Join Date
- May 2009
- Location
- BFE
- Posts
- 573
Where did you get the foam kit and what's involved with reattaching it? Originally Posted by TomCrac
-
11-18-2012, 10:45 PM #841
Registered User
- Join Date
- Nov 2011
- Posts
- 3,738
There are lots of places to get foam kits etc. I got mine from www.simplyspeakers.com
Search for or call to find which kit would work for you. You can pick up a kit for around $20-$25. (or less on a good sale).
Kit came with replacement foams, a nice little instruction booklet and glue.
Looked at a few vids on youtube to get the idea.
I did not find it necessary to clamp all the around the outer rim like this guy did, I just went around by hand ever minute or so untill that glue wasnt going anywhere. He also just weighted the speaker cone to center. I just bounced it by hand a buch of time to get it centered.... or like in this vid, you can cut out the center cone to shim up the voice coil...
There are lots of videos and lots of different ways to end up with the same result, for the most part, just do what works for you as long as you cover the basics.
Hardest part was getting the "gasket" off (outer ring around the outside of the speaker). Lots of speakers will have a foam gasket that is easily removed and replaced or reinstalled. The Design Acoustics have a heavy plast gasket that you would have thought they never wanted it to come off. Just took my time working at it till it finally came free.
It's really just a matter of tear, scrape, clean off the old foam (very easy since mine were so dried out), maybe 10 - 15minutes per speaker.
Then run a small bead of glue around the cone and a small bead around the inner ring of the replacement foam and attach. The glue gives you a few short minutes to adjust the ring for positioning. Let dry for about 30 -60 minutes.
Then do the same to the outer edge of the new foam and set into place. (there is a more "precise" way to center the foam ring by cutting open the voice coil cover, the dome in the center, and placing shimms, then glue, then replace cover, but I opted for the more freehand feel to get them centered and seemed to do alright).
Realisticly you could do a set of speakers in less than 2 hours, with most of that time, an hour or so, waiting for the glue to dry.
Way simple, inexspensive, kept them out of the land fill, and they sound great!
-
11-19-2012, 08:37 AM #842
Registered User
- Join Date
- May 2009
- Location
- BFE
- Posts
- 573
Thanks, great info. I have an old pair of speakers that need repair, so I might have to try this. Originally Posted by TomCrac
-
11-19-2012, 03:49 PM #843
 ExteriorDecorator
- Join Date
- Nov 2005
- Location
- Down In A Hole, Up in the Sky
- Posts
- 36,497
I know this video is horrible, but I finally figured out the Lazy Susan....
http://www.youtube.com/watch?v=ICNcy...e_gdata_player
-
11-19-2012, 05:55 PM #844
 Class(less) Clown
- Join Date
- Feb 2006
- Location
- New England
- Posts
- 12,105
Nice Rideit... looks to be about 13-14" in dia?
For sale yet? I want one for an xmas gift.Screw the net, Surf the backcountry!
-
11-19-2012, 07:29 PM #845
 Registered User
- Join Date
- Apr 2007
- Posts
- 3,298
We built a bare bones house last year so I've been busy getting things the way I want them. Needless to say, our project list is endless.
First, I had to get the TV on the wall and the cables hidden.

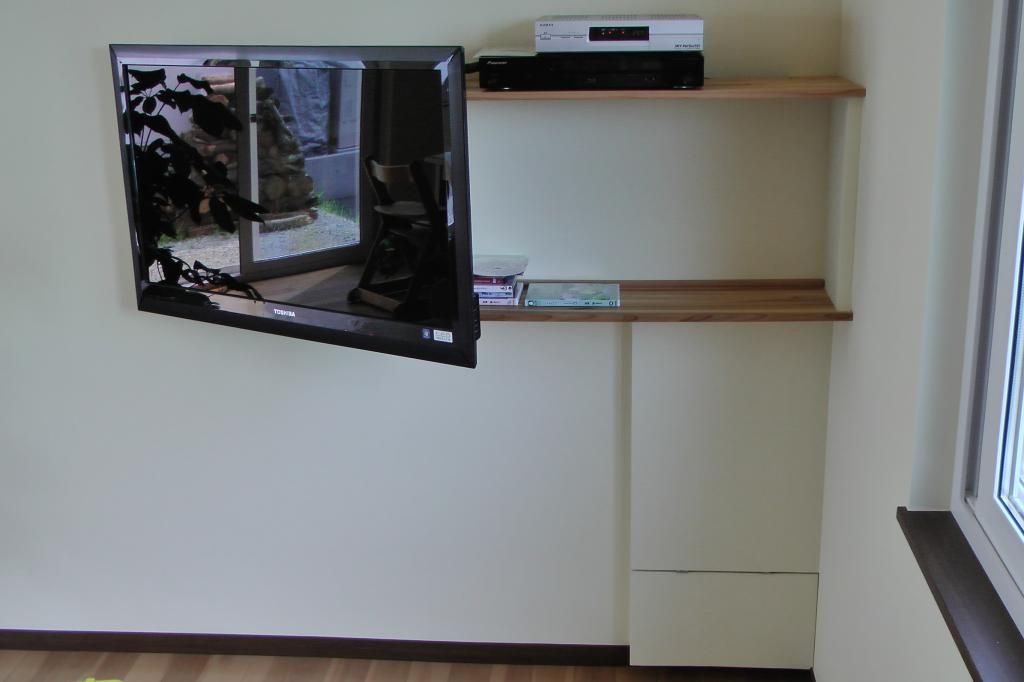
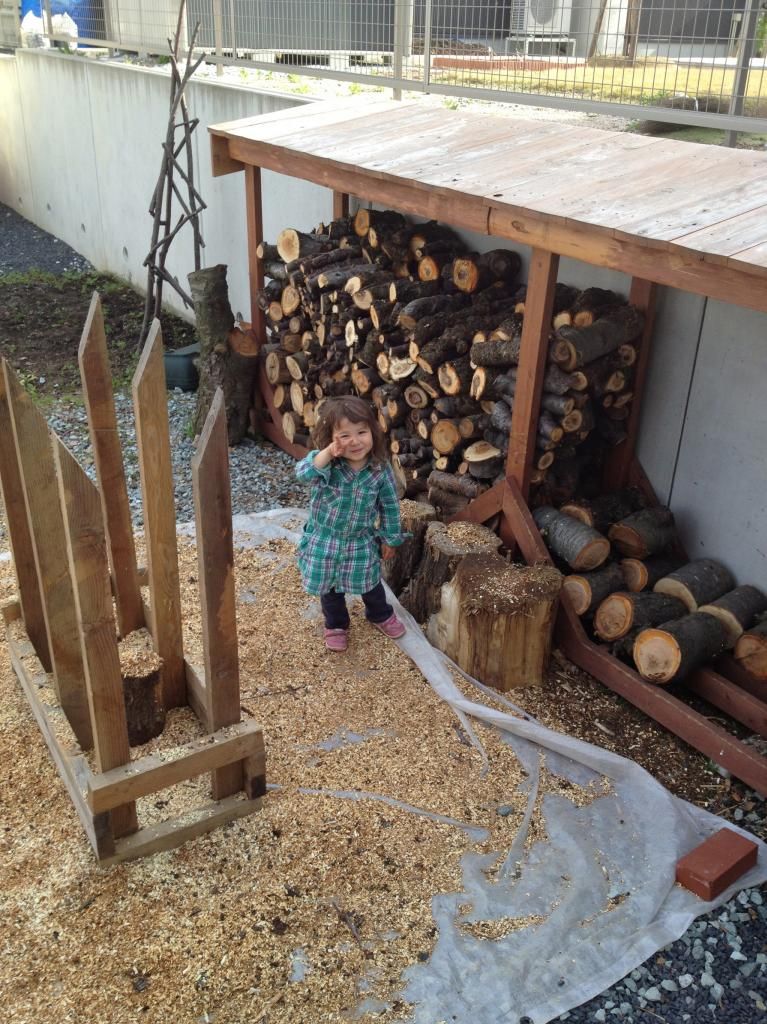
Then, firewood storage. 33 feet in length, two logs deep. Only a year's worth, after all. I need another rack on the side of the house.
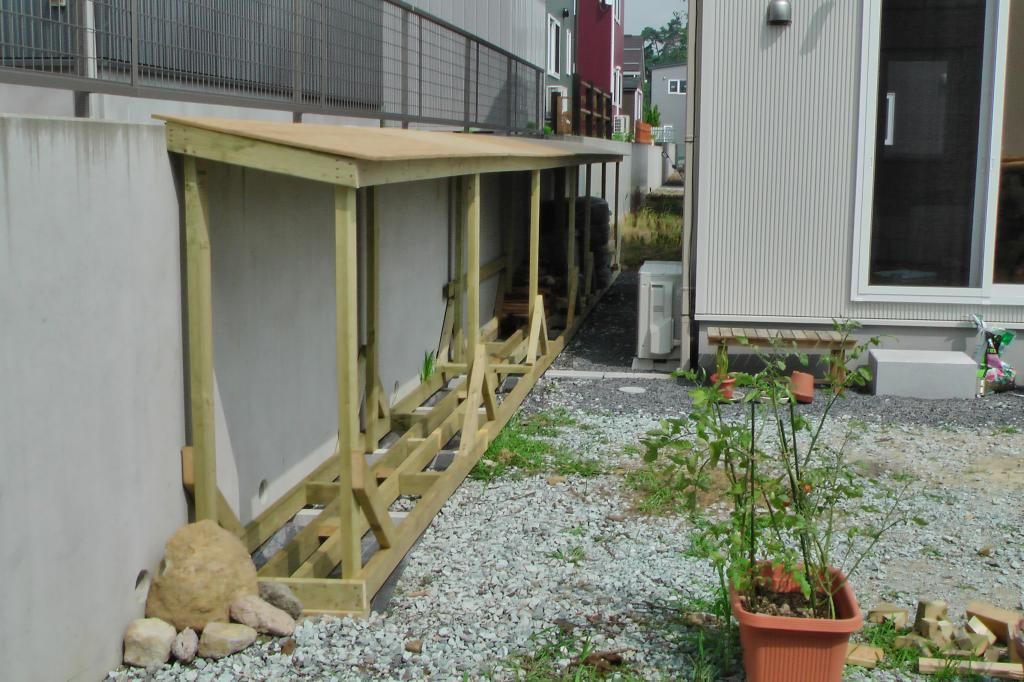
Soon, the kids will be in charge of firewood.
Then we had a place to put the A/C unit.
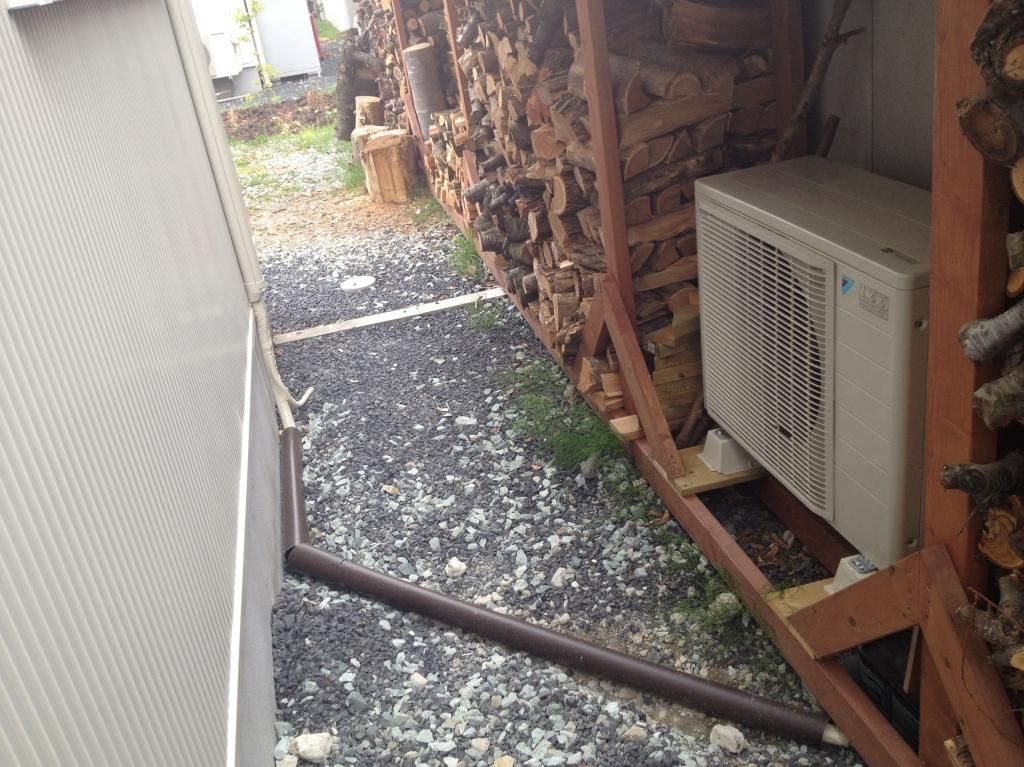
Continued...
-
11-19-2012, 07:35 PM #846
Registered User
- Join Date
- Apr 2007
- Posts
- 3,298
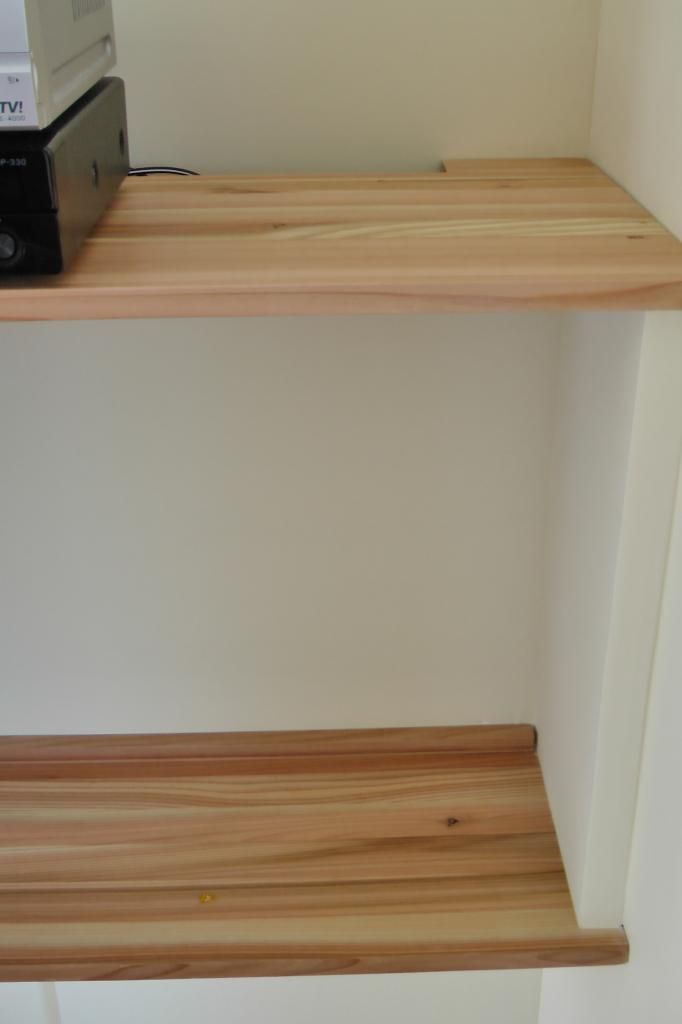
A quick afternoon of no kids in the house yielded a shelf & towel rack above the washer/dryer. Our master closet will see a similar design later this year. Simple, basic, natural.
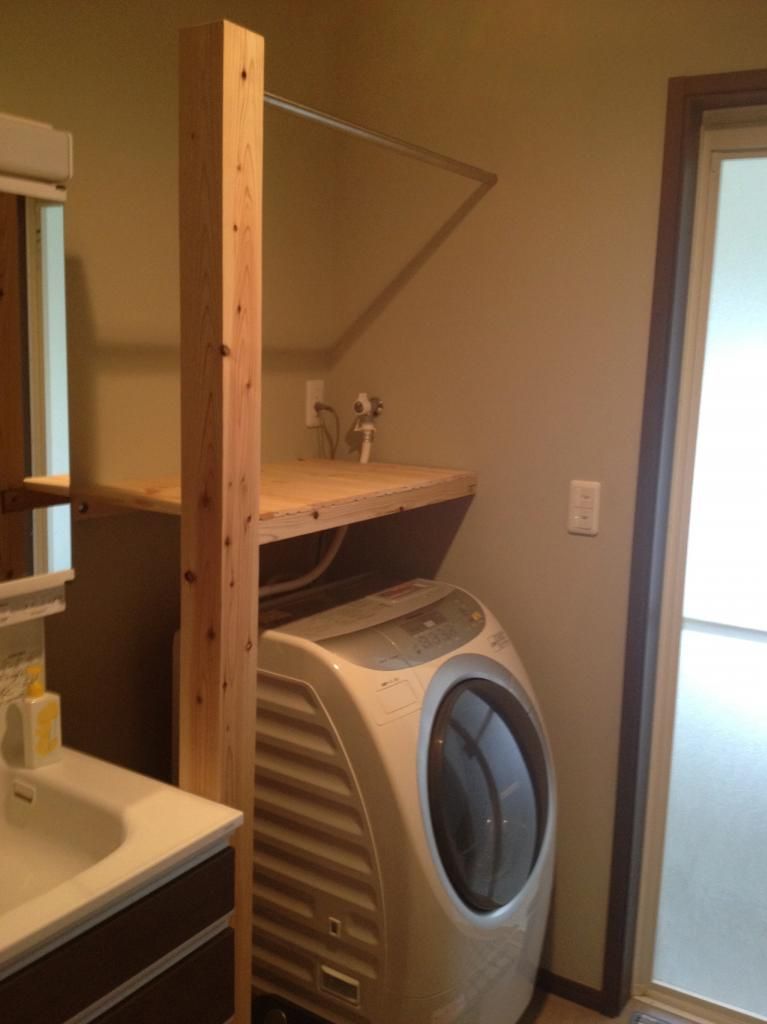
More shelves and coat racks:
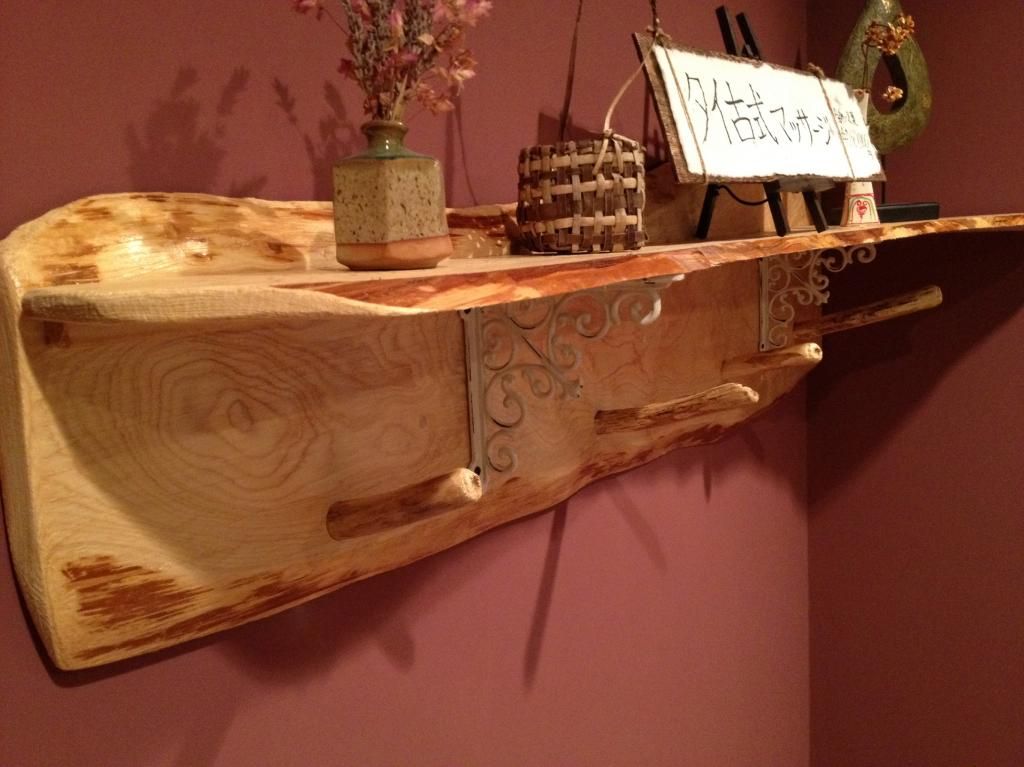
Pine tongue and groove with a cedar log face:
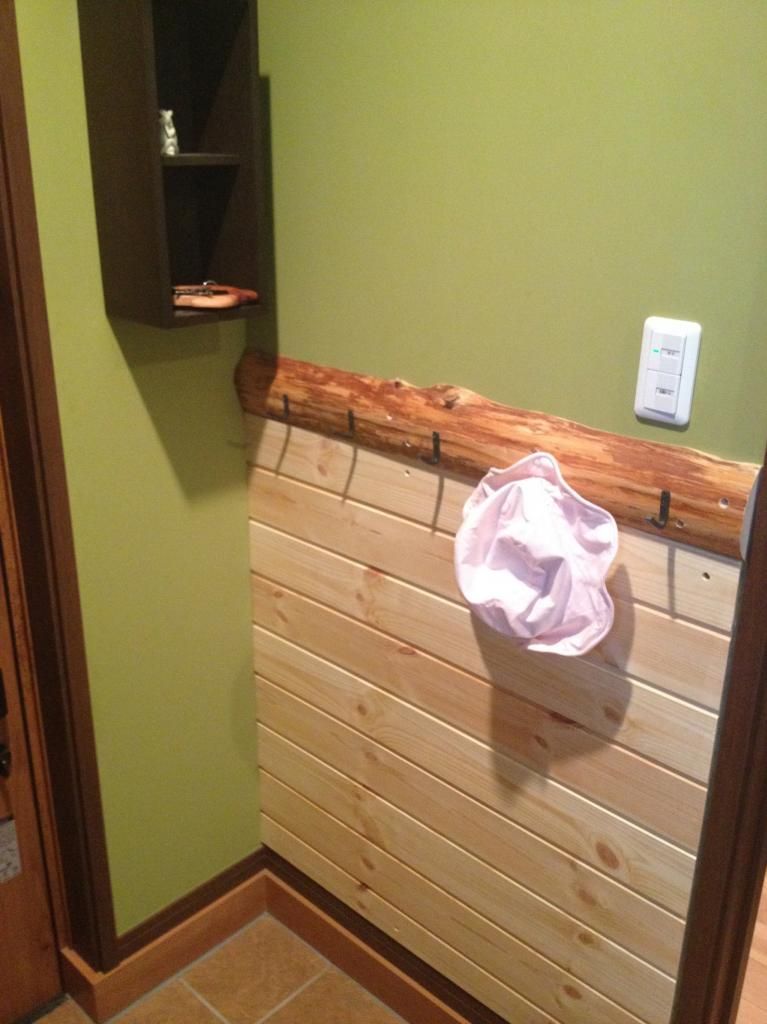
Cedar slabs with antique brackets: (choose your cock-shaped coat hanger.)
Continued...
-
11-19-2012, 07:44 PM #847
Registered User
- Join Date
- Apr 2007
- Posts
- 3,298
Most recent is a new computer desk for my wife beside the wood stove & kitchen.
The before
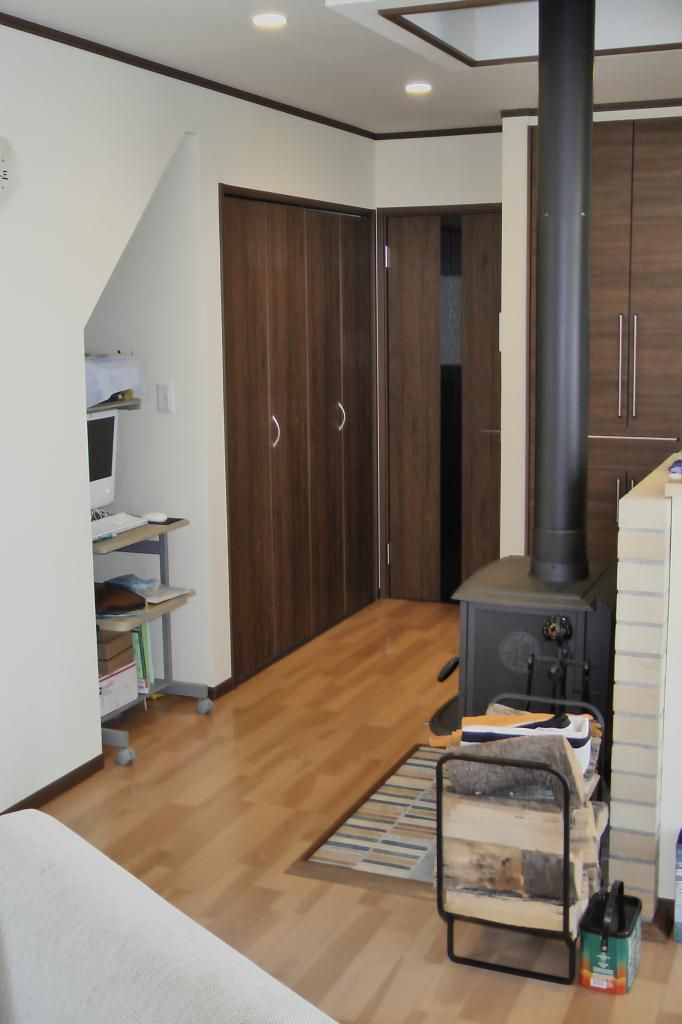
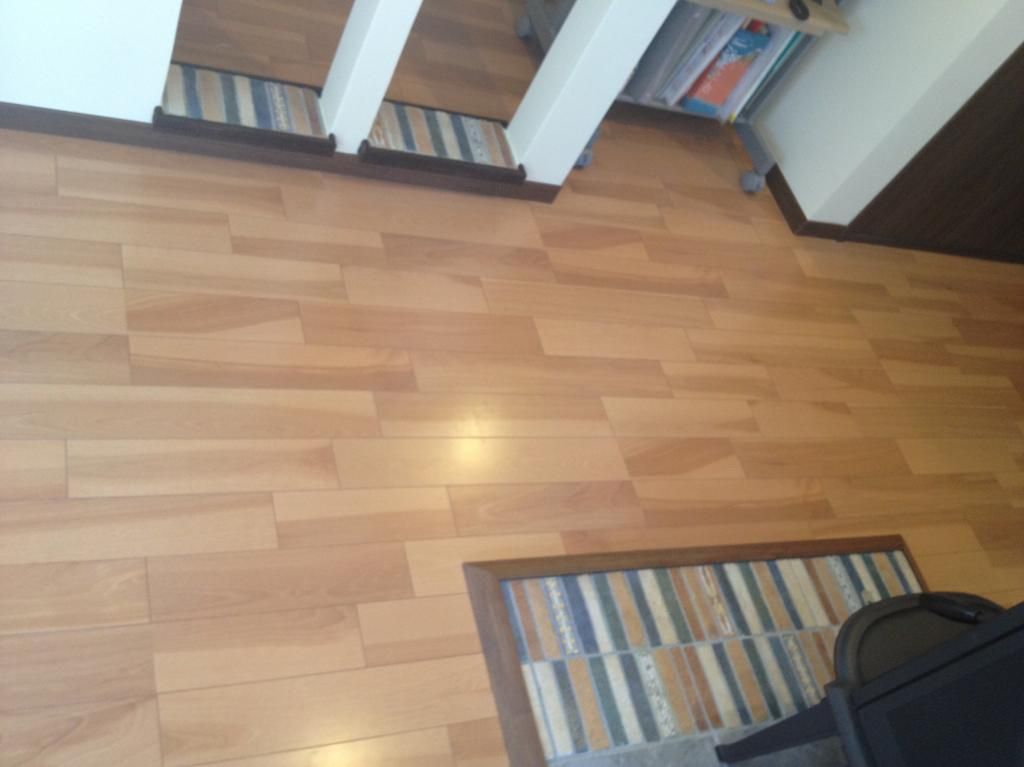
So I cut two holes in the wall and laid left-over tile that matches the stove's base:
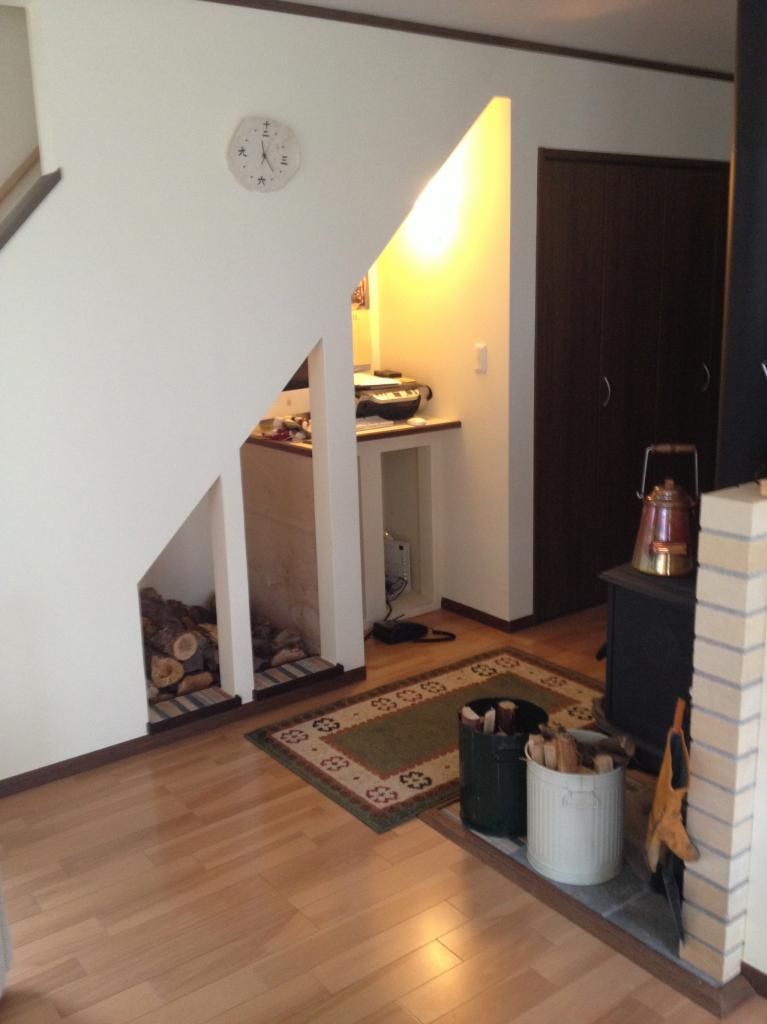
Tile work:
The desk top is a natural balsa (really soft to the touch). This desk is so custom my wife's arms are 90* at the elbow with wrists on the keyboard. Her back is then also flush with the wall so people can walk by. Perfect. (Minus my Homer Simpson moment resulting in broken glass all over my gravel driveway.)

Next up is cedar closet shelves, a firewood fence, a garage, and a stone patio. Continued next year. My weekends will be busy with skiing from now on.
-
11-19-2012, 08:39 PM #848
Registered User
- Join Date
- Nov 2011
- Posts
- 3,738
Nice work gaijin. You have definitely earned all the coming ski season!
That washer/dryer ..... That's one unit? ... How do you like that... Pro's ... Con's ...?
-
11-19-2012, 09:06 PM #849
LEGEN..wait for it...DARY

- Join Date
- Oct 2005
- Location
- coloRADo
- Posts
- 2,116
So, I'm a total woodworking JONG, but I wanna build this:
http://lumberjocks.com/projects/22165
I have some childhood experience working with wood, miter and table saw, planers, etc, I'm an engineer so I have a good understanding of structural mechanics and materials and I'm generally very handy, but otherwise am an absolute JONG. My problem is, I don't even know where to start looking for the African Mahogany in a size that allows me to build something like that.
-
11-19-2012, 09:12 PM #850
Registered User
- Join Date
- Apr 2007
- Posts
- 3,298
Thanks. Yes, it's one unit. The nicest thing is you can set the timer for the cheap over-night electricity rates and wake up to warm/dry clothes. The biggest con with a single unit is the wait time between loads = 2-3 hours total if you use the dryer. You can't really let laundry pile up and do it all on one day. That said, we hang most of our laundry in the upstairs sun room, even in winter. The wood stove pipe runs through the second floor and provides massive amounts of dry heat for drying clothes. Then, the wet clothes provide humidity in the house. We only use the dryer for ~15% of our loads. It's a nice machine. Originally Posted by TomCrac

 Reply With Quote
Similar Threads
-
What was your best"OH SHIT" moment?
By BradyCU in forum General Ski / Snowboard DiscussionReplies: 124Last Post: 12-08-2009, 07:10 AM -
Moyers on the religious right and the environment (nsr/long)
By natty dread in forum General Ski / Snowboard DiscussionReplies: 48Last Post: 02-09-2005, 03:14 AM -
Obligatory Kirkwood report thread for today, Sunday Dec. 21 AKA SHIT WENT OFF!
By LegoSkier in forum TGR Forum ArchivesReplies: 33Last Post: 07-12-2004, 11:56 PM -
shit... one day, smashed face and skier's thumb on both of my hands!
By duboix in forum TGR Forum ArchivesReplies: 1Last Post: 03-09-2004, 08:53 AM

Bookmarks