
Popular Stories


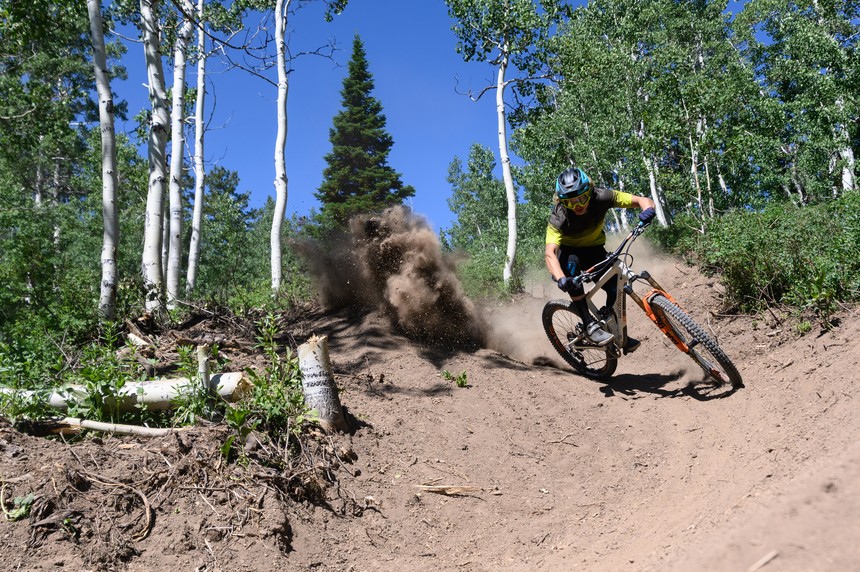
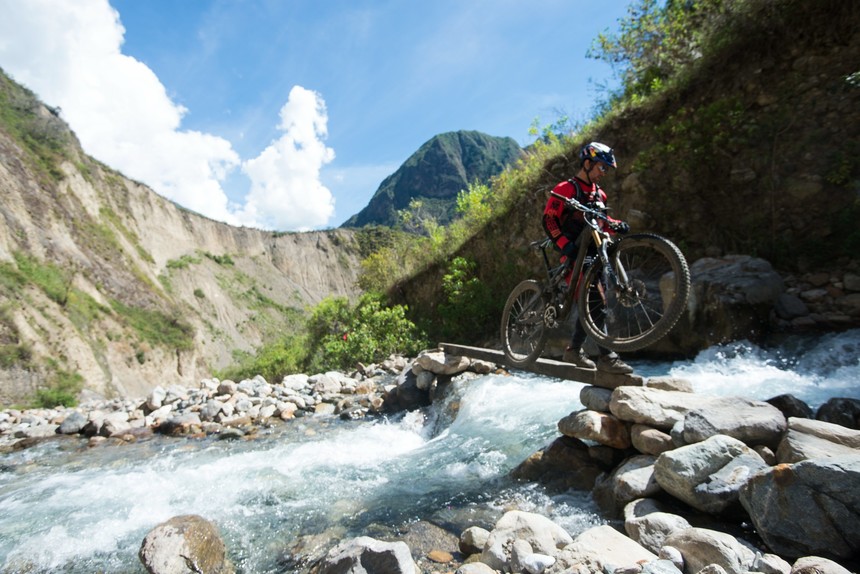 Taking the trail less travelled is one of the more beautiful aspects of our sport - here are a few tips on how to get there. Red Bull Content Pool photo.
One of the truly beautiful things about mountain biking is that you can chase singletrack all over the world. Let’s face it – after a few months of riding your home trails, you’re hungry for more, and take a gander on the internet for places to visit. A road trip to the Utah desert could always be an option, but you start to look further. British Columbia has always sounded nice. But wait, flights to Mexico look cheap? Click. Bought.
Now you have the plane tickets, an itinerary, and your favorite bike ready to rip – but you still need to get it all there. Flying with a mountain bike might not be the easiest thing to do, but I’ve learned a few things over the years and have some tips to share. Here’s a list of everything you need to know to ensure your next long-distance bike trip goes off without a hitch.
1 – Get A Bike Travel Bag
The first step to getting your bike on a plane is putting it in a nicely padded bike travel bag. Ever look out the window when your bags are being loaded on the plane? Yeah, your bag isn’t going to be treated well – so make sure it has enough protection to ward off any damage. Most airlines won’t cover any damage costs associated with putting your bike on a plane.
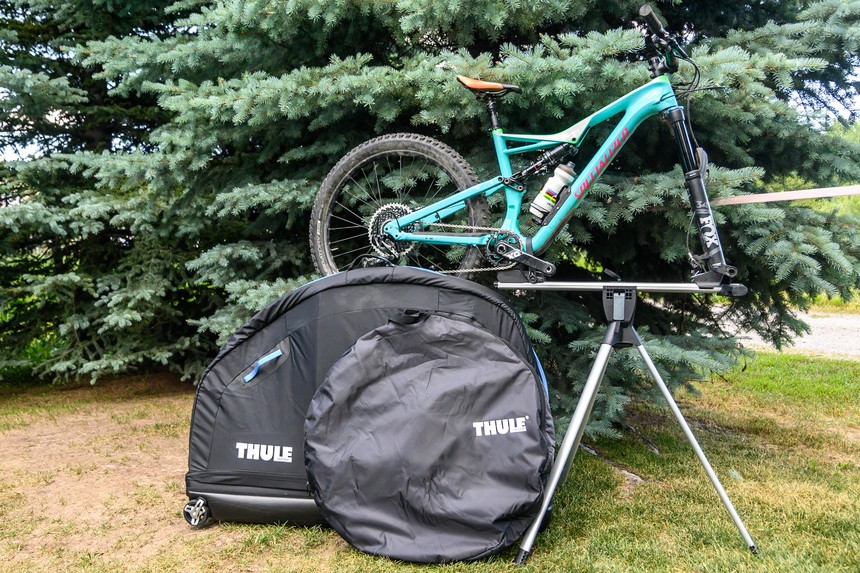 Thule's Roundtrip Pro XT comes fully loaded for your next bike travel adventure. Max Ritter photo.
A favorite bag of mine is the
Thule RoundTrip Pro XT. Like their roof boxes and hitch racks, this bike bag is significantly more sophisticated than the competition. For starters, at 18 pounds it’s extremely light – which might just squeeze you in under the weight limit for regular luggage. Next, it comes with an integrated bike stand – which makes taking your bike apart and putting it back together a breeze. Just pop both wheels off, drop your seat, remove your handlebars, pedals and rear derailleur, flip your fork around, and you’re ready to go.
When you get to your destination, or for storage at home, the bag folds into a sleeve that makes it small enough to slide under a bed or stash in a closet. At $700, it’s pricey – but it’s well worth it.
One thing to note about the RoundTrip Pro XT – Thule says it will only fit bikes with a wheelbase smaller than 46 inches. We managed to just squeeze in a large Canyon Strive with the fork flipped around – so large/XL DH bikes and long 29ers might have a problem. An alternative for huge bikes is the
Dakine Bike Roller Bag.
2 – Packing
Getting the bike bag ready is step one, but make sure you still properly pad every critical component to prevent any damage. Bubble wrap or cardboard strips work well. After one too many bent rotors, I’ve learned to remove both brake rotors from my wheels and stash them in the interior of the bag. Removing the rear derailleur will also prevent any damage to this important component. I also suggest shoving some sort of plastic pad blockers between your brake pads to avoid contamination and pushing your pistons too far in. Pick some up from your local bike shop.
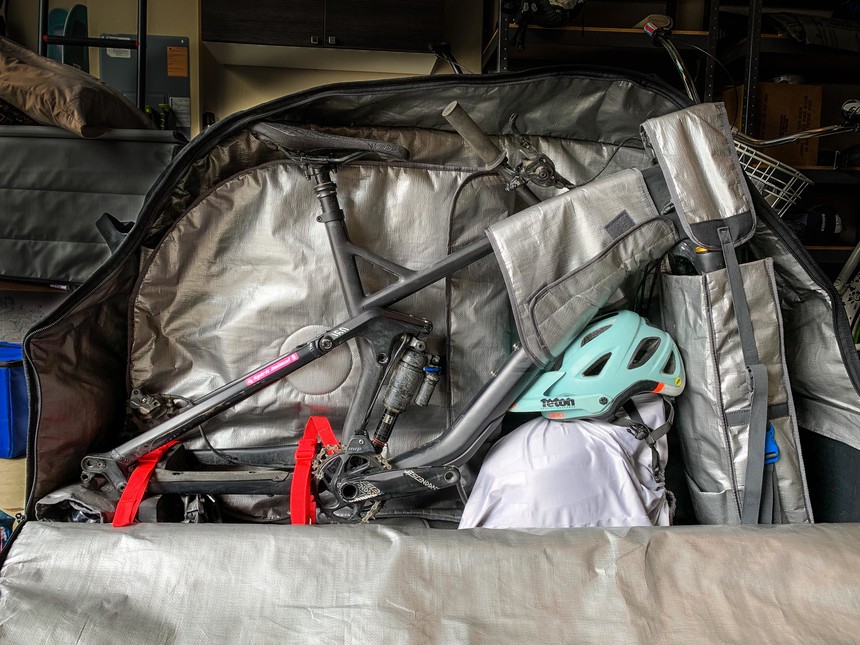
Organized chaos. Consider filling all the empty space in your bike bag with stuff like helmets, shoes, and clothing. Max Ritter photo.
Once your frame and wheels are in the bag, take up all the extra space with your pads, pack, helmet, and shoes. A full-face helmet fits nicely under the front triangle in the Thule bag and will help take up dead space inside.
3 – What to Bring
Contrary to what you might think, traveling for mountain biking doesn’t require you bring a ton of stuff. Keep your bike in good shape beforehand, and you can likely keep most of your tools at home. However, definitely bring a tire pump (don’t try to bring CO2 on a plane), a multi-tool with a chain breaker and torx wrenches, some zip ties, tire plugs, a hex key set for adjustments and assembly at your destination, and a shock pump. Most of this should be in your on-trail kit anyway. Buy some CO2 canisters at your destination.
Join Our Newsletter
In terms of kit to bring, think about what you can’t live without and try to pare it down to that. I like to bring two or three sets of clothes, including cold-weather and rain gear (a current favorite is Fox’s Attack all-weather kit) for when it inevitably rains on your parade. Put all this into your bike bag as extra padding.
4 – The Airport
Baggage fees are the bane of my existence. While some airlines recently stated bikes will fall under the common baggage allowance, getting a bike bag under 50 pounds is pretty much impossible if you're bringing all the right stuff. Do your research beforehand and figure out what exactly you are dealing with. Check here for baggage policies for
Delta, American, and United.
Show up an extra 15 minutes early to your flight, because many baggage agents will probably never have dealt with a bike bag upon check-in. Keep a business card or name tag visible on the outside of your bag in case it gets lost. From experience, being nice at the airport goes a long way.
5 – Arrival
You’ve made it to your final destination. Before leaving the airport, open your bike bag and check to see nothing is missing from inside or damaged on your bike. If so, head straight to the airline’s baggage counter with the evidence and file whatever paperwork is necessary on the spot.
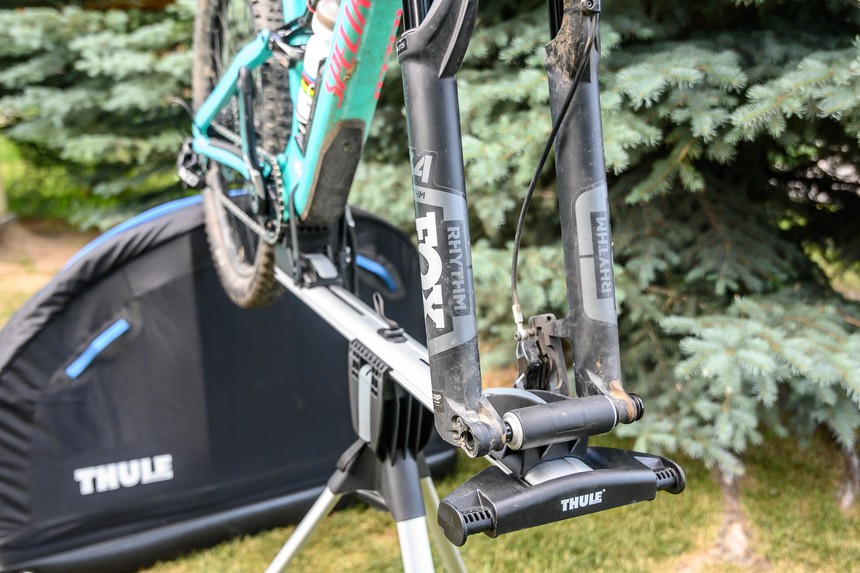 When it comes time to re-build your bike, Thule's built-in bike stand comes in handy. Don't forget to double-check every bolt and adjustment before you ride. Max Ritter photo.
Assembling your bike shouldn’t take too long, but make sure you spend the time properly torquing and adjusting everything. Headset, faceplate bolts, pedals, and brake rotors are easy to overlook. Double-check the sag on your suspension – a difference in elevation can make a huge difference in how your air suspension performs. If necessary, burp the lowers on your fork by slipping a zip-tie between the seals and your stanchions to remove air from your lowers.
6 – Go Ride
 This one is self-explanatory, get out and ride your bike. You’re on vacation. Max Ritter photo.


