
You know the drill: strap on your helmet cam. Bike a gnarly trail. Get home, super stoked to see all your footage. Upload it, start to watch… and something isn’t right. Maybe the mount on your handlebar is shaky and you start feeling nauseous after the first five seconds. Maybe you tilted the camera too high and well, the sky just doesn’t look as great as your ride. Or, even worse: your footage has potential but your editing puts all your friends to sleep. You want your POV video to be as great as Andrew Whiteford’s, but how?
Have no fear. We caught up with Jordie Lepage from Anthill Films to ensure the creation of your next POV edit is smooth sailing. This guy knows what he’s talking about–if you need proof, just check out his work on the Dream Capture series.
#1: Treat It Like a Real Camera
 If you ever end up riding a glacier like Graham Agassiz did on the Pemberton Ice Cap, you'll definitely want to shoot multiple angles. Just one helmet cam can't fully capture moments like this. TGR photo.
“The great thing about POV cameras is that you can capture the moments you don’t usually get to see,” said Lepage. “The worst part is unedited, long clips of people cruising through crappy trails. It gets old pretty quick.” You know who you are. Want to take your footage a step further? Lepage suggests you focus on the moments. “You’ve got to treat it like it’s a real camera, which it is,” he said. “It would be incredibly expensive to run one camera for that period of time, just for one shot. Don’t do it just because you have a POV camera.”
#2: Be Ruthless With Your Footage
 Sony Action Cams can go anywhere, just like Cam McCaul! Shots like this are worth keeping. Anthill/TGR photo.
“If you want to make something that’s interesting for other people to watch, then you need to be ruthless with your footage,” Lepage declared. Even when Anthill Films works with top-caliber athletes, they’re still cutting footage down to a two minute piece. In order to do so, Lepage says you have to be incredibly honest with yourself. “Be willing to cut the moments that aren’t as interesting or don’t quite work as well,” he said. “You need to be your own worst critic.”
#3: Experiment
You need to get creative if you want to make something interesting. “You just need to experiment,” Lepage agreed. “If you run one mount all the time, it’s never going to be as interesting as it could be. Switching it up is always a good thing. Even if you don’t think it’s going to work, you never know. You gotta try it.” Bottom line: don’t be afraid to fail. If the footage doesn’t work out, learn from your mistake and go for another ride. Check out the Trigger Happy episode of the Dream Capture series above for POV experimentation taken to the limit.
RELATED: Andrew Whiteford's 5 Tips for Better POV
One of LePage’s favorite creative mounts is a spoke cam, where the camera is actually inside the wheel. He says it’s great to use for cutting between clips. “When a guy jumps in the air and pulls his break, all the sudden that camera stops in the air and you’re like wow, I thought we were on a crank there,” he said.
#4: When In Doubt, Go With The Helmet Cam
On the flip side, it’s never a bad thing to have a reliable, favorite mount. The helmet cam is the perfect go to. “With mountain biking, we have good luck with helmet cams,” said Lepage. “Your body is already absorbing a lot of shock, so the camera is almost already stabilized. That’s the best mount in terms of smoothness.”
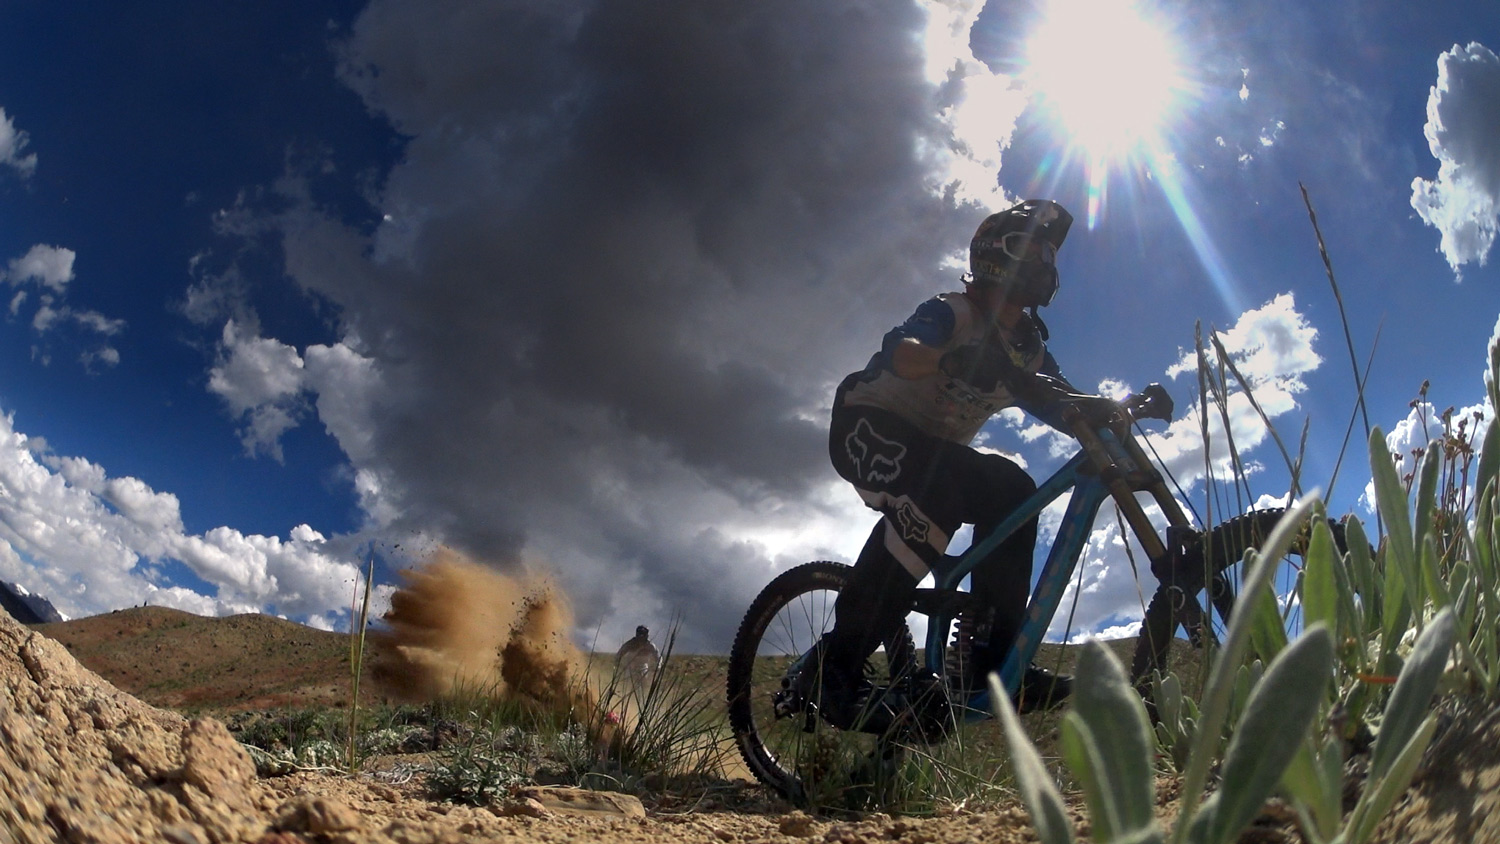
Remember to tilt the camera far enough down so that you can see the trail, not just all the pretty clouds. As the above POV from Thomas Vanderham shows, it's good to have the camera tilted far enough down that you can occasionally see the front wheel, but still far enough up that you can see ahead of you down the trail.
#5: Don't (Always) Veto the Crotch Shot
“Everything has its time and place,” Lepage said. Everything–including the crotch shot. “Even we’ve used the seat post cam looking forward,” he said. “It’s kind of like you’re in somebody’s crotch shooting, which is kind of awkward. That’s kind of risky, but sometimes it’s cool to see the facial reaction of somebody while they are on the bike. It gives you something to cut with and that’s good to have.”
#6: Always bring a roll of tape
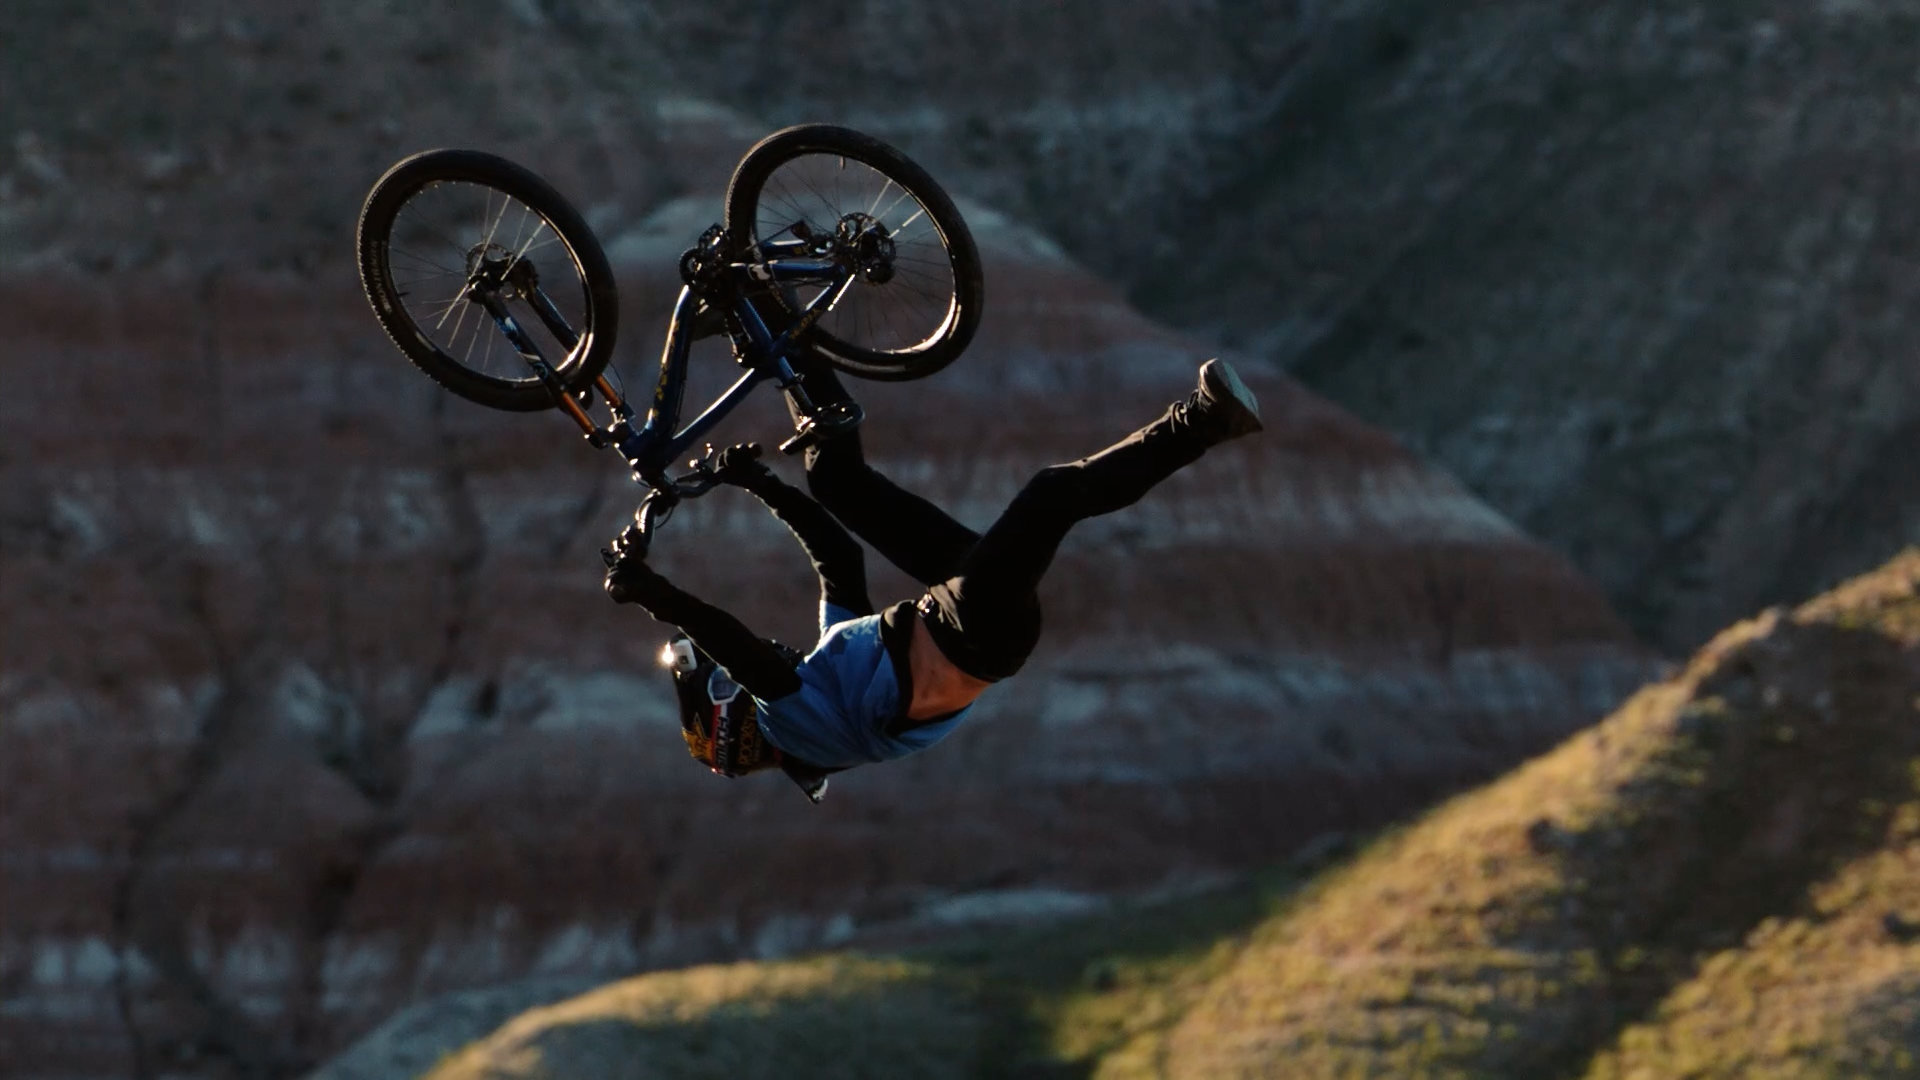 Cam McCaul backflips during the Dubois shoot for unReal with an Action Cam mounted under his full face helmet visor. Anthill/TGR photo.
Bike, helmet, camera… tape? For the best shots possible, don’t forget to throw a roll of tape into your bag next time you head out on the trails. “When we go out, we basically bring a roll of tape, and any possible way we can mount the camera to a bike, that’s pretty much what we go for,” said Lepage laughingly. If you don’t have the luxury of replacing a smashed camera the way he does, make sure to go heavy on the tape. Scotch tape not recommended.
About The Author
stash member Kylie Mohr
Washingtonian pumped to be back in the mountains after a year in Denmark. Skier, hiker, yogi, world traveler, lover of dogs and golden hour light.
Ben Right
September 23rd, 2015
Mountain biking is my passion and I record every ride. I always have my drift stealth mounted on the helmet and other one on the bike. In my opinion the most popular mistake regarding action cameras is choosing wrong cameras for certain activities. For example, for mountain biking much better are small, light and aerodynamic cameras as stealth I use. Cube-shaped are worse here.