
The Art of the Build: How to Sculpt the Perfect Jump
Popular Stories


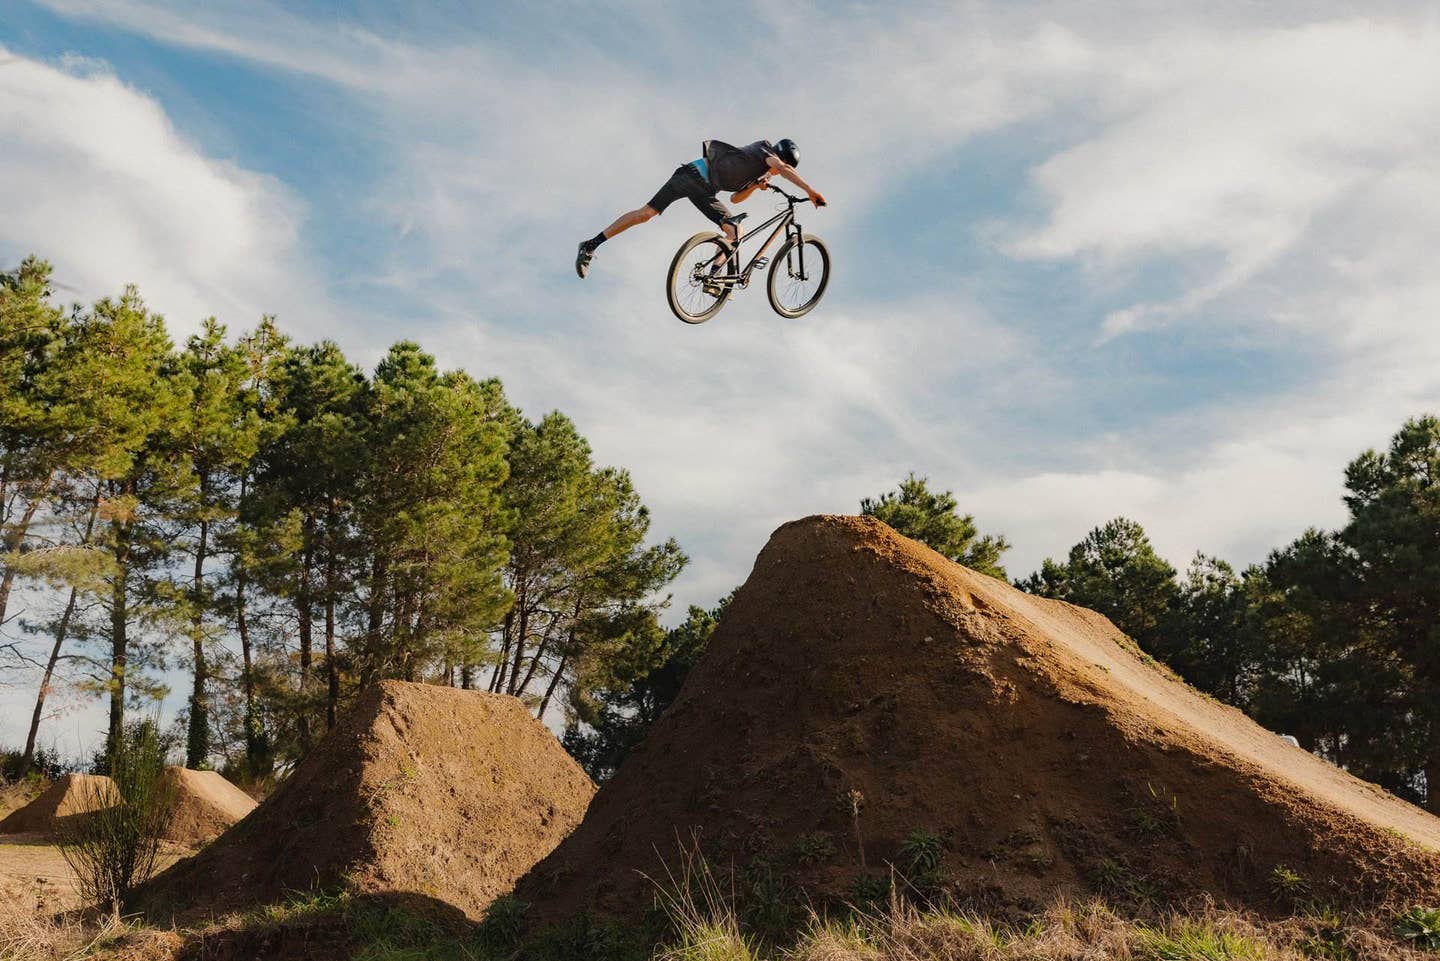
Every rider dreams of that perfect, buttery-smooth jump. The one that feels less like a take-off and more like an effortless launch into the air. But you don’t have to wait for your local trail crew or bike park to build it. Crafting your own dirt jumps is a foundational skill that unlocks a new level of creativity and progression in your riding.
Whether you have a backyard space or a quiet patch of woods, here’s our breakdown on how to create, build, and sculpt solid jumps that will have you grinning from ear to ear.
Step 1: Scout Your Zone
Before you pick up a shovel, scope out your location. Using natural topography is a game-changer and saves you a ton of work. Look for small hills, drainages, or existing slopes that can serve as a natural starting point for a big lip or a long landing.
Gauging your in-run speed is critical. It’s always better to have too much speed and need to brake than to come up short and case the landing. Do a few roll-ins to get a rough estimate, keeping in mind that a hard-packed, finished in-run will be faster than you think.
Step 2: The Build - From Tabletops to Step-Ups

This is where the vision starts to take shape. We'll start with the foundation of all dirt jumps, the tabletop, and then show you how to progress to more advanced builds that will transform your riding zone.
Start with a Tabletop: Your Foundation A tabletop is the perfect jump to learn on. With a flat deck connecting the takeoff to the landing, it gives you the biggest margin for error and builds confidence.
- Clear and Prep: Thoroughly clear the area of any sticks, leaves, and debris. You want to build on clean, solid ground.
- Build the Core: Search for dead logs and lay them widthways across the middle of where your jump will be. This creates a solid foundation, reduces the amount of dirt you need, and is the secret to easily upgrading your jump later.
- Start Stacking Dirt: This is the grunt work. Begin digging and piling dirt over the logs until they are completely covered. As you add layers, walk all over the pile to pack it down firmly before adding the next one.
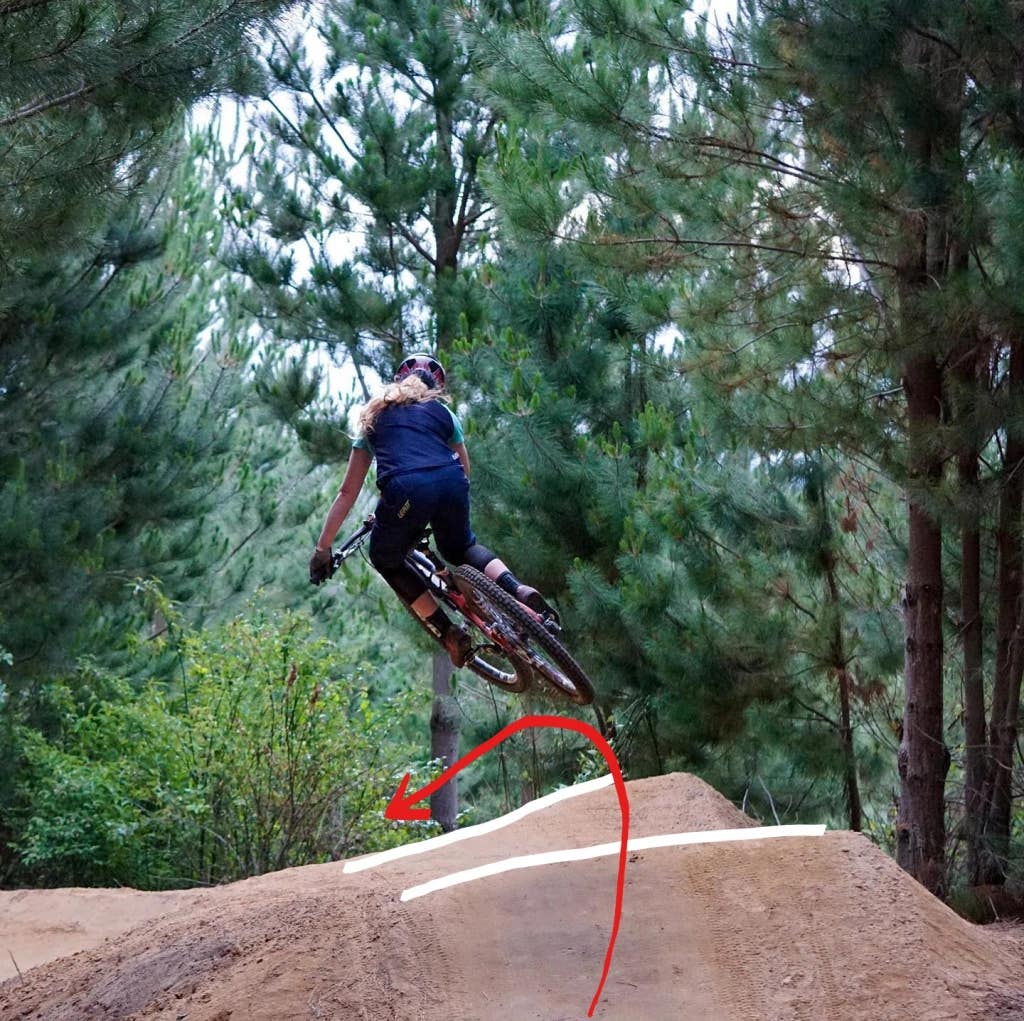
- Shape the Landing and Lip: Once you have a large mound, flatten the top and begin the artistry. Use your feet and the back of your shovel to push the last few feet of the jump into a gentle slope for the landing. The takeoff should have a similar, but slightly steeper, curve. A good rule is to make the transition longer than your bike's wheelbase for a smooth, predictable pop.
- Dial it In: This is a crucial finishing step. Roll your bike up and down the takeoff to help compact and define the curve. Then, use the back of your shovel to whack it into a smooth, hard surface until the dull thud of soft dirt becomes a sharp, satisfying ping.
Level Up: Turning Your Tabletop into a Double
Once you’ve mastered the tabletop and are clearing it with ease, it’s time to turn it into a double, or gap jump. It’s the same physical motion, but the mental game is different.
Sign Up for the TGR Gravity Check Newsletter Now
The beauty of that log foundation you built? You can now pull the logs out from the middle without destroying your perfectly sculpted takeoff or landing. Start by gradually removing dirt from the center, which helps you get used to the feeling of clearing a gap without the intimidation of a full-on double. Smooth out the edges, and you have a perfect, progressive double jump.
Advanced Lines: Hip Jumps and Step-Ups
- Hip Jumps: A hip jump is perfect for adding flow and linking different lines together, as its landing is angled away from the takeoff, requiring you to turn in the air. The easiest way to build one is to find a natural bank rising out of the ground and carve your takeoff into one side, using the bank as a natural landing that you can shape and perfect.
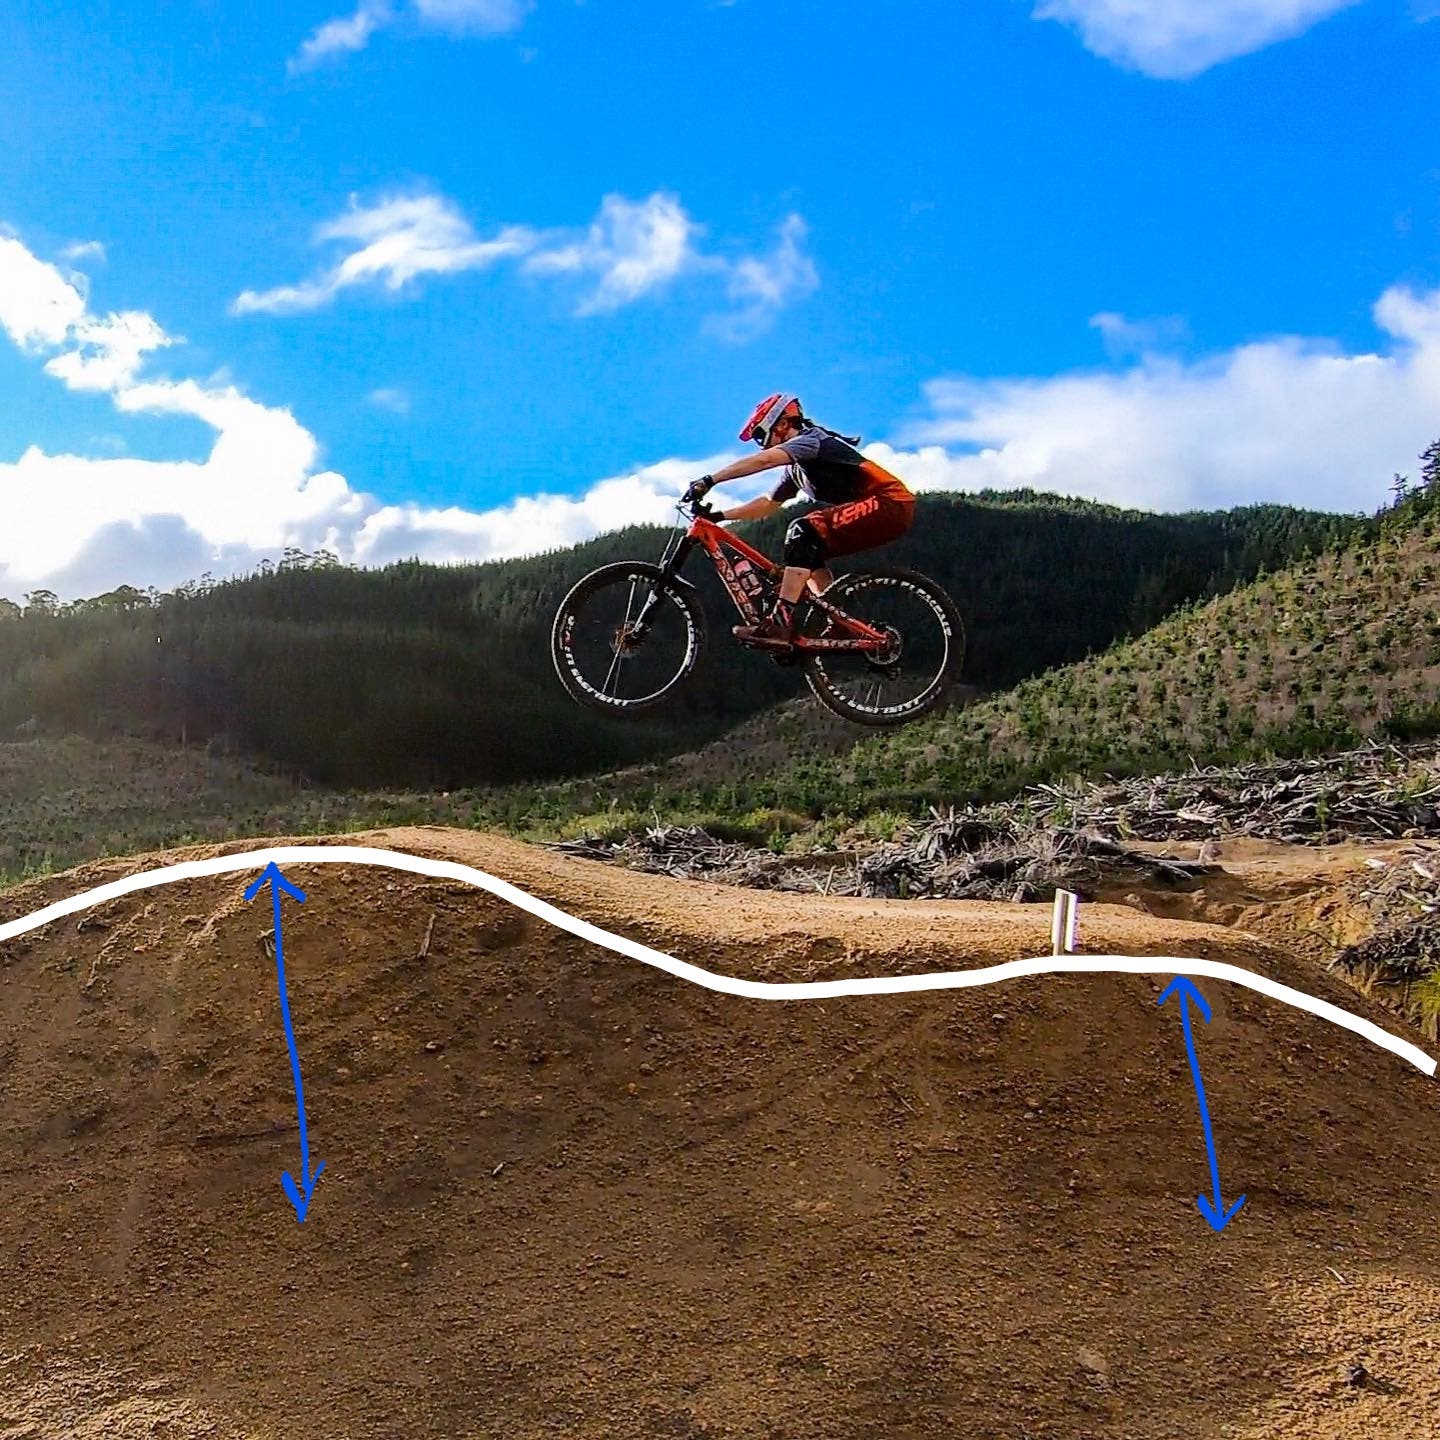
- Step-Ups: A step-up is essentially a double, but the landing is built significantly higher than the takeoff. This is an incredible tool for learning tricks with less consequence, as you don't have to travel as far horizontally. To build one, you'll need a much longer and wider base for the landing to support the extra height and prevent it from becoming too steep or pointed.
Step 3: Let it Cure & The Test Session
This is the hardest part: be patient. A freshly built jump is soft and vulnerable. It needs time to settle and harden. A good rain followed by a few days of sun is the ideal recipe for curing your creation, it could take up to a week for the jump to be truly ready to ride. The wait is worth it for a feature that will be solid and last for years.
Once it's rock-hard, it’s time for the moment of truth. Don't just go for it. Start with a few slow roll-ins to get a feel for the lip. Gradually increase your speed. Pop the front wheel a little. Once you feel comfortable with the transition, you can start to fully commit. If it needs an adjustment, a little steeper or more mellow, don't be afraid to scratch up the surface, add or remove dirt, re-shape, and re-pack.
There’s nothing more rewarding than floating over a jump you built with your own two hands. So get out there, get after it, and start dialing in your dream line.