The Complete Guide to Improving Your Splitboard Transitions
Popular Stories


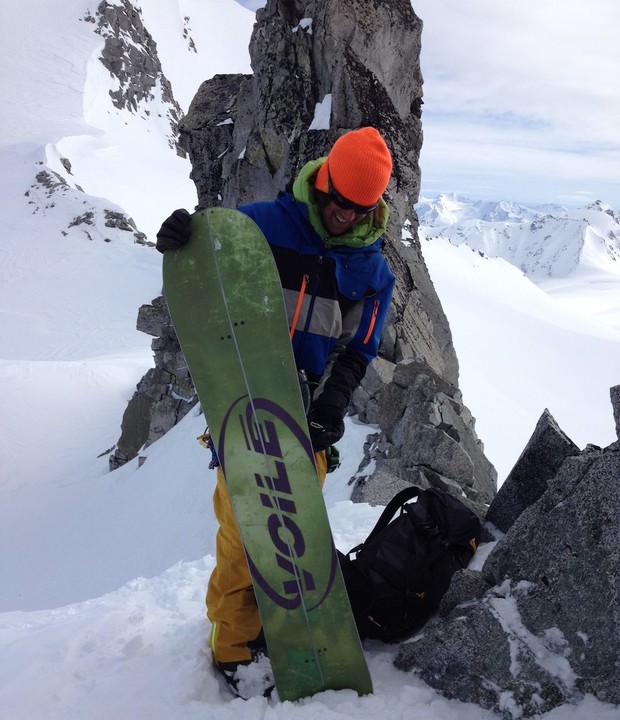
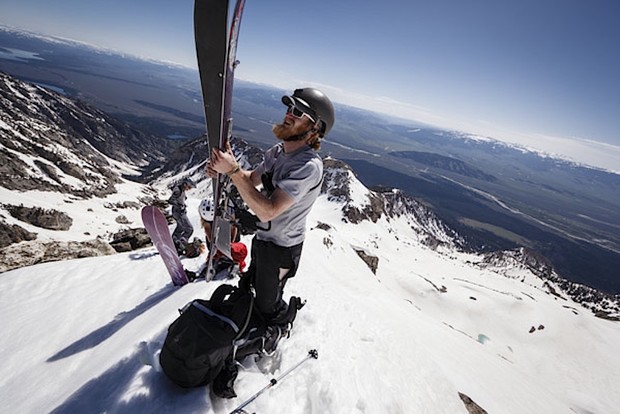 Kordell Black executes a speedy transition before dropping in on Buck Mtn. Louis Arevalo Photo
Keep up with your skimo friends, without resorting to spandex tights, by refining your transition times. This can be daunting when you are new to navigating all the parts and pieces that make up a splitboard.
You are a master of the shred, but there is a lot to learn about kicking ass on the skin track. With some practice you will become a jedi of the splitboard transition and have more time to shred first tracks in blank canvases of powder.
#1) It all starts with an organized backpack.
Everything that you need for a day exploring mountains on your “go-go gadget splitboard” should have a precise location in your pack. Most modern touring packs have compartments designed to help you on your way to backpack feng-shui.
Keep your water in a definite location so there is no digging to find it. Put your waterproof shell in a spot to make it easy to pull out if the weather changes. On-trail snacks can go in your hip belt pocket so you don’t have to stop to fuel up.
For even more efficiency, these spaces can swap purposes. For example, put your skins and collapsible poles where your helmet, jacket and gloves were and put your goggles where your sunglasses will go.
Your objective for the day will determine what is worthy of carrying in your pack, so your kit should change accordingly. You won’t need goggles for a sunny day of meadow skipping and you will need crampons for a spring alpine mission. Bring only what you actually need and avoid the energy suck of carrying excess gear that hinders your transition time. By setting up a routine for your gear and refining that system to include only things you actually use, you will achieve speed.
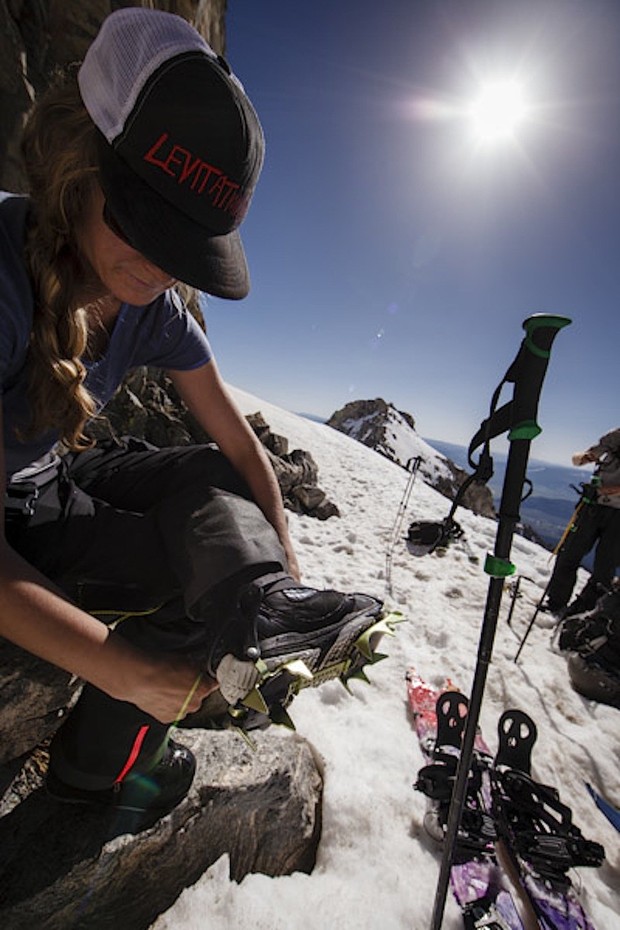 Cindi Lou removes her crampons on Buck Mountain in the Tetons. Louis Arevalo.
#2) Learn how to apply, remove, and store your skins.
When skins are new the glue is incredibly sticky. If you fold them in half (glue to glue) they can be hard to rip apart, but storing them glue to glue will help their longevity. If you hook the nose loop over the tip of your ski and use it as a post while you pull the tail downward, it can help.
Skins will break in overtime and pulling them apart will become easier the more you use them. Always be careful to never get snow on the glue or it will not stick to your board. If your skins do not have tail clips, this is especially important.
Get all the snow off your base and rub the skin onto the board firmly to keep them in place. It is good to have a strap and some duct tape with you in case these techniques require some trial and error at first.
 Zach Grant transitions in Alaska's Neacola range. Cindi Grant photo.
#3) Turn your board into skis and back into a board in the comfort of your warm home until you can do it confidently.
You will have a much more fulfilled day in the backcountry if you avoid the pit fall of fumbling around with frozen fingers trying to figure this out. This assembly will become second nature the more you practice.
An ice scraper will increase your efficiency substantially on a cold spring day full of “gloppy snow.” Be thorough and get it all off. Scrape all the glop ice off the bottom of your binding and pucks especially.
Sign Up for the TGR Gravity Check Newsletter Now
On a powder day it is hard to find a solid surface. You can hold your left ski so that the tail is on your boot. Slide the right ski on from the top down till the hooks connect. Once you’ve secured the hooks, close the nose and tail clips. Your boot can also be used to hold the board’s toe-side edge while you slide/lock the bindings to the pucks.
#4) The faster you skin, the more time you will have to transform into a snowboarder again.
There are many tricks to acquire in your bag of up track skills. They will make a huge difference, not only your overall time, but your overall enjoyment. The vast majority of splitboarding is moving up hill. Love it or leave it.
Lead with your big toe while sliding your skin up the hill. This is not snowshoeing: keep that ski on the ground. Find a rhythm to your stride and stick with it. Too many spurts of fast and slow will only zap your energy.
The most efficient skin track angle is the one that you can maintain your pace on. Too steep: you will use up far too many small steps to achieve the same height. Too flat: you will wander aimlessly back and forth across the mountain all day. Pick the angle that finds the top, maintains your rhythm, and keeps you safe within the terrain features you are navigating.
#5) To strap in on a precarious perchs, dig your toeside into the snow and build a platform.
Use your board's toeside edge as a digging tool, and create a platform ledge a little bigger than the size of your board. The snow conditions don’t always allow for this but it is worth the extra effort to have a stable zone for strapping in on soft snow. After all, this is reason number 287 of why splitboarding is way better than skiing. (See video above).
Once you build the platform, step up onto your board and strap into your bindings. This way, you have a stable, flat, safe zone to collect yourself before dropping the next best line of your life.
You know you are already faster on the down then rondo racer dude in powder, mank, and variable crust. Once you nail these techniques, the flying spandies will be trying to keep up with you.
Writer's Note: All in good fun, rando racers. We love you, but your tights are just too easy to poke fun at.