
Results 3,976 to 4,000 of 6863
-
11-10-2020, 03:55 PM #3976
 Registered User
- Join Date
- Oct 2010
- Location
- Down East
- Posts
- 265
Ok makes sense with the glue, I had been thinking about it the wrong way. I was thinking I needed something super strong but what I am really looking for is something that is water proof and won’t dry out and crack. Sounds like the GG recommendations made in this thread is the way to go.
For the volcanos i will give the drill bit a try. I was also thinking about a twisted drill bit to counter sink. Probably the same thing.
I am still over thinking how tight is tight.
-
11-10-2020, 04:02 PM #3977
Registered User
- Join Date
- Oct 2010
- Location
- Down East
- Posts
- 265
Yea. That is exactly what I need to do. I only got a few runs on the BGs last year before everything went to crap and those were not on conditions they were meant to be skied on. Like I mentioned I have Shifts on other skis and have no issues with skiing them. This is more of a “stoked on CAST” thing...
-
11-10-2020, 10:45 PM #3978
 Registered User
- Join Date
- Sep 2018
- Posts
- 2,693
mounted these a few nights ago. really looking forward to going fast . was waiting for the new forzas (purple) to come out but my shop still doesn't have them so I got a great deal on their last pair of 18s. since pics were taken swapped brakes thanks gear swap

Sent from my SM-G981U using Tapatalk

-
11-12-2020, 04:35 PM #3979
 can fly!
- Join Date
- Jan 2004
- Location
- the Low Sierra
- Posts
- 17,820
there's shit ton of info here
anyone able to point me in the right direction for mounting Tecton with Jigarex plate?I didn't believe in reincarnation when I was your age either.
-
11-12-2020, 06:40 PM #3980
Registered User
- Join Date
- Oct 2010
- Posts
- 1,958
Mounting up a pair of Dynafit Rotation 7's for a friend. These things suck. They're heavy, have the same heel as the Radical (issues snapping off the risers/top of tower I'm sure). I've had to Frankenstein together two different templates to get it to get close to fitting.
Feels like such a waste mounting these massive, poor functioning bricks to a pair of 158's.
-
11-12-2020, 10:06 PM #3981
Registered User
- Join Date
- Mar 2008
- Location
- northern BC
- Posts
- 31,002
the reason Rad1's would splode just by walking up hill was cuz the screw would break due to the stresses from the stupid fucking flippy lifters,
the rotations I looked at in the shop last week had the top plate clipping on to the body of the heel so the screws are not stressed and only locate the top plate
so IMO the tops of the rotations will not peel off like the thousands of ticking-time -omb rad1's out tharLee Lau - xxx-er is the laziest Asian canuck I know
-
11-12-2020, 10:43 PM #3982
Registered User
- Join Date
- Oct 2010
- Posts
- 1,958
Unfortunately the Rotation 7 is a bastard child of the Rotation 10 and the original Radical ST. Check out a photo of the top plates of the Rotation 10 (beefy) and the 7 (exactly like my circa-2010 Radical ST). I tried to upload the photos but the forum isn’t having it. Originally Posted by XXX-er

-
11-12-2020, 10:46 PM #3983
Registered Useless
- Join Date
- Oct 2016
- Location
- tahoe de chingao
- Posts
- 848
^^ yup. source - blew up rad 1's, did about a hundred days on rad 2's without problems.
falcon is right, though, they are heavy and not entirely worth it
-
11-13-2020, 07:12 AM #3984
 Registered Loser
- Join Date
- Mar 2017
- Location
- SLC, Utah
- Posts
- 4,314
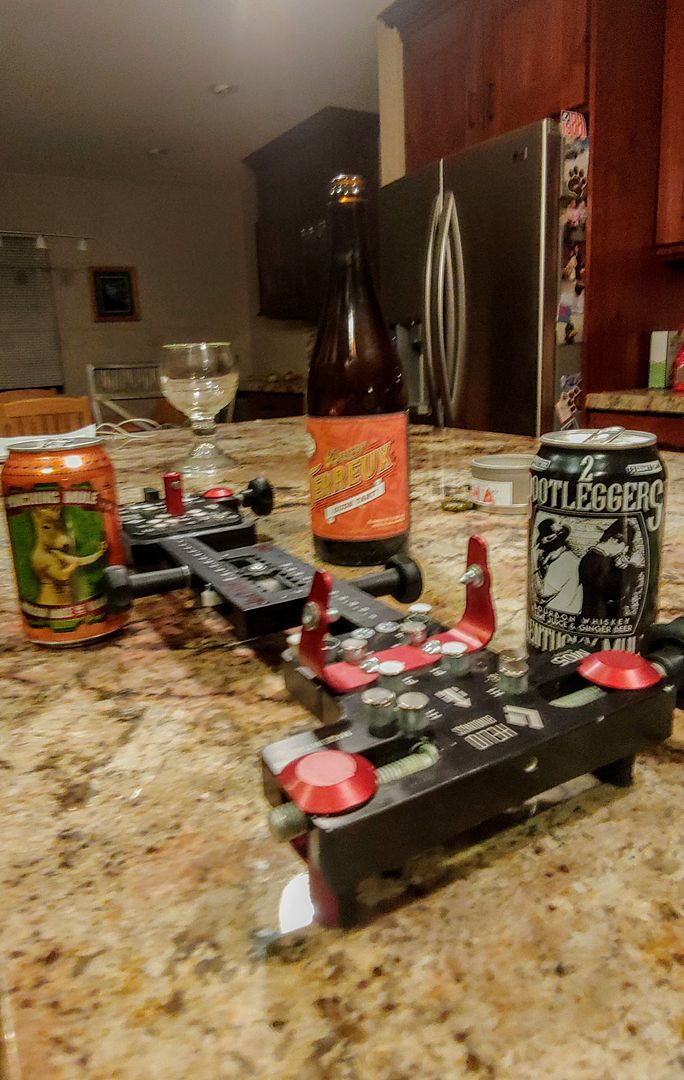
had a great time with sfb last night as he showed me how to mount my own fucking skis. i'm pretty goddamn stoked over this.
a few cool tricks that i thought were worth sharing here -
after verifying your mount on a jig, use magnets to block out every hole that you don't want to drill
check the fit before fully locking down everything
make sure you pet the dog regularly
check the clutch before drilling (my jong ass mistake), or you'll also get an impromptu lesson on how to do helicoils. this was surprisingly not that hard.
finished result:
Last edited by tgapp; 11-13-2020 at 07:36 AM.
-
11-13-2020, 09:49 AM #3985
 Irrie Rasta Dog Copilot
- Join Date
- Apr 2005
- Location
- A LSD Steakhouse somewhere in the Wasatch
- Posts
- 13,234
I'd tell ya the poor craftsman blames his tools
But that drill is beat
Thanks fer coming by and reminding me why I limit my social media to the blue screened ski freak scene and keep in my old man ass up past 8 fer a change
Them magnets make the probably donts consumes mur beers than holes in the jig
Pro tip kinda a mute point
Strong myofs work"When the child was a child it waited patiently for the first snow and it still does"- Van "The Man" Morrison
"I find I have already had my reward, in the doing of the thing" - Buzz Holmstrom
"THIS IS WHAT WE DO"-AML -ski on in eternal peace
"I have posted in here but haven't read it carefully with my trusty PoliAsshat antenna on."-DipshitDanno
-
11-13-2020, 10:54 AM #3986
 fatmiddleagedfarty
- Join Date
- Mar 2006
- Location
- Nottingham, UK
- Posts
- 1,290
Make yer own fuckin' drill'n'tap guide!
For DIY binding mounters and QK/BF insert installers that don't have access to a professional binding jig or drill press to enable easy drilling and tapping of holes that are perpendicular to the top sheet of the ski and that won't wander. Three different precision sized holes to accommodate all drilling and tapping requirements:
- 3 x holes for all binding mounting step drills / a 12AB metal layer binding tap / an insert step drill / an insert tap / the QK Pro installation tool
- 3 x holes for the QK 'Rescue' drill bit
- 2 x holes for the QK 'Rescue' tap
When used for drilling the guide should be clamped to the ski but when tapping it can simply be hand held.
-
11-13-2020, 11:16 AM #3987
Registered User
- Join Date
- Mar 2008
- Location
- northern BC
- Posts
- 31,002
Originally Posted by sruffian
as to if they are any good I have no idea but at least some post Rad1 Dynafits have been designed with a top plate that clips over slots in the body so the top plate/ body take all the stress and the screws only locate the plate SO they will not break and leave you spooning a tree in the middle of nowhere
I also blew up a Rad 1, buds have blown them up I know a guide who blew up 6, it was the stupid fucking unsupported flippy lifter that breaks the screws and peels the top off like a beer bottle cap but you didn't need to be a rocket scientist to see it was a fucking stupid design
I suggest all Rad 1 users ski with 5 voile strapsLee Lau - xxx-er is the laziest Asian canuck I know
-
11-13-2020, 05:05 PM #3988
Registered User
- Join Date
- Mar 2016
- Posts
- 293
To recover from my initial insert installation fuckup, i used margotron's method of plugging with oak dowels and G-Flex. Then enlisted the help of a friend with a drill press to redrill. Installed the inserts correctly this time and epoxied in the inserts with G-Flex. Results aren't too shabby. Originally Posted by sierra_cement
I'll find out when i start skiing on them if I'm going to die.
Sent from my SM-G965U1 using Tapatalk
-
11-14-2020, 08:16 PM #3989
 Registered User
- Join Date
- Sep 2011
- Location
- Front Range, CO
- Posts
- 488
This thread is Gold! Mounted skis for me and the missus, can't wait to get out.. The first ski took several hours due to my over analysis but the rest were pretty quick. Will definitely be mounting my own skis going forward. Here's what worked for me - most is in this thread, but figured it could help someone without having to read the entire 160 pages.
1. Put down two layers of blue painters tape in the center of the ski and used an awl to lightly punch the top surface to get 3-4 points for the centerline. I used several methods to find the center but the folded piece of paper was the most accurate and easiest.
2. Used a carpenter's square at the skis edge and a digital caliper to confirm center of the dots and a straight edge to draw a line. Like others advised, try to be accurate but don't go crazy.
3. I used Alpinord's center template to ensure the line was centered.
3. 2 layers of painters tape before taping the templates down. Punch just the top layer of tape with an awl and use the digital calipers to make sure the holes are equal distance from the ski edge. If its really off you can always tear of the top layer of tape and try it again. Its near impossible to get it perfect and I was happy with .3 mm variance, well within the margin of error of width of the drill bit.
4. Definitely get the ski drill bits with stoppers. Made it really easy to drill. And punch the holes before drilling.
Overall, was pretty smooth and will be faster next time. One lesson learned with Pivots is to turn the turntable 90 degrees to reset the indicator. I kept tightening it and not seeing any difference.
-
11-14-2020, 08:50 PM #3990
Registered User
- Join Date
- Nov 2006
- Location
- idaho panhandle!
- Posts
- 9,979
Grabbed my sally jig, skis, drills, one with a bit and one with a driver. Cracked a beer and proceeded to mount some fucking skis mah self. With the jig I barely finished my beer.
-
11-15-2020, 12:57 AM #3991
 ChairmanofthePowderBoards
- Join Date
- Jan 2013
- Location
- NWCT
- Posts
- 2,366
PSA: Mount your own fucking skis.
This one took a little bit of advance work last weekend - multiple beers needed.
First time mounting pivots - usually a Solly guy. 102 from the tip
Sent from my iPhone using Tapatalk
-
11-15-2020, 12:14 PM #3992
can fly!
- Join Date
- Jan 2004
- Location
- the Low Sierra
- Posts
- 17,820
Originally Posted by ~mikey b
Cliff's Notes?
I've never mounted a tech binding and I've never used Jigarex so I could use a tutorial before I dive in.I didn't believe in reincarnation when I was your age either.
-
11-15-2020, 06:16 PM #3993
can fly!
- Join Date
- Jan 2004
- Location
- the Low Sierra
- Posts
- 17,820
did these this afternoon
I didn't believe in reincarnation when I was your age either.
-
11-15-2020, 06:31 PM #3994
 Registered User
- Join Date
- Mar 2018
- Location
- Lake Wallenpaupack, PA
- Posts
- 2,206
PSA: Mount your own fucking skis.
I ordered P18 Forza 2.0’s like a month ago from Rossi Proform and still haven’t heard a thing.....although they charged my CC....so it sounds familiar. I’ve started to look for 1.0’s as well. The delay is real (whether it be at shops/or straight from Rossi) Originally Posted by SirVicSmasher
Either way, I need something for these.....
-
11-15-2020, 06:36 PM #3995
can fly!
- Join Date
- Jan 2004
- Location
- the Low Sierra
- Posts
- 17,820
it took fucking forever for me to get P14
I didn't believe in reincarnation when I was your age either.
-
11-15-2020, 08:22 PM #3996
 Detrusor
- Join Date
- Jan 2009
- Location
- Park City
- Posts
- 5,019
I’ve got some new in the box black p14’s that would look sweet on those....
Sent from my iPhone using TGR ForumsI rip the groomed on tele gear
-
11-16-2020, 11:04 AM #3997
Registered User
- Join Date
- Oct 2010
- Location
- Down East
- Posts
- 265
Once again thanks for the pic. Originally Posted by Spyderjon
I was looking more closely at this and had a question. The heal which I assume from the pivot hole pattern is on the right side of the picture seems like it is much farther forward then the shift. When I just eyeball the two setups on my skis it seems like the pivot heal holes would be under the shift mounting plate. I am I looking at this wrong? I have a 306 bsl
-
11-16-2020, 12:29 PM #3998
 space invaded
- Join Date
- Nov 2006
- Location
- NCW
- Posts
- 4,603
Yes. The Shift mount pattern falls BEHIND the boot heel, Pivot/FKS mount falls UNDER the boot heel. Originally Posted by phatboy64
Your only conflict is the rearward holes for the TOE. Bumping the pivot mount forward will afford the room you need to avoid that conflict, assuming the same BSL.
-
11-17-2020, 12:19 PM #3999
Registered User
- Join Date
- Apr 2017
- Location
- PDX
- Posts
- 79
Just mounted my Woodsman's with Attack2 13 bindings. When setting back pressure, the edge of the housing should be within the 6 scribed lines. At one setting it's between the 5th and 6th line, at the next setting it's between the 1st and 2nd line. So technically both are within the acceptable range. One being pretty close to BP too high, and the other pretty close to BP too low. So which setting would you go with?
Thanks!
-
11-17-2020, 01:36 PM #4000
 registered peruser
- Join Date
- May 2009
- Location
- inpdx
- Posts
- 20,235
how old you and your knees?
are you heavy?

 Reply With Quote
Bookmarks