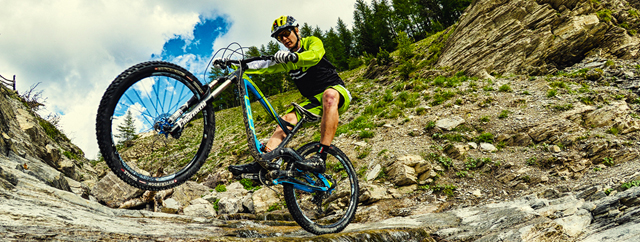
 Set up your bike's cockpit right and it'll come alive for you. GT Bikes photo.
Getting controls and touch-points just right can be the difference between an uncomfortable, annoying ride or being in an elevated plane of existence where the bike magically disappears beneath you. If you haven't ever thought about going over your cockpit, give it a shot, it's a great (and free!) way to improve.
The goal for setting up your cockpit is to make everything comfortable, reachable and organic with no precious milliseconds wasted groping for brake, shift or dropper post levers.
SEE ALSO: How to perfectly tune your suspension
Even demoing or renting bikes, I do this. Reps give me side-eye for whipping out the multi tool and noodling with their brake, shifter and saddle positions. Tough shit–being comfortable comes first. Seriously, millimeters can make a difference.
A set of allen keys and a t25 torx wrench will adjust most everything. If at all possible, do yourself a favor and buy a torque wrench to tighten bolts down to proper specs. Especially if you have carbon bars. No need for the expensive digital or click kinds, get a beam one for 20-40 bucks.
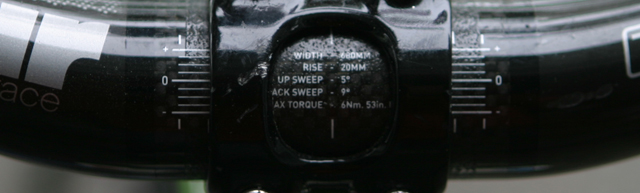 Many bolts will have a tolerance listed next to them, in inch-lbs ('in') or newton meters ('Nm').
Below is the order I make adjustments. You can do all this in your garage and tweak on trail if you need to.
Brake levers
 Loosen the mounting bolts on both your brake and shift levers, then get on the bike in a ready riding position, elbows bent, bum just off the saddle. Rotate the
brake levers until there is a straight line from your forearm through the back of your hand (no break in the wrist).
Loosen the mounting bolts on both your brake and shift levers, then get on the bike in a ready riding position, elbows bent, bum just off the saddle. Rotate the
brake levers until there is a straight line from your forearm through the back of your hand (no break in the wrist).
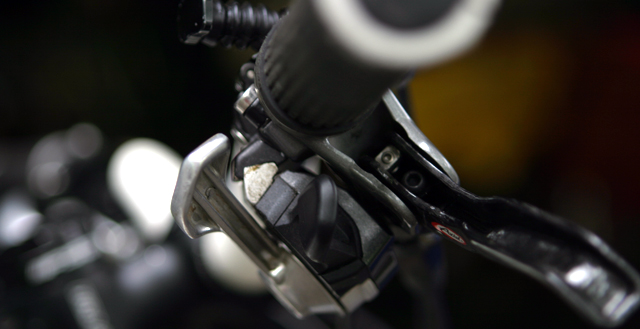
Once you know where that is, use the reach adjust dial (if your brakes have these) to move the levers close enough to the handlebars so they hit at, or just behind, the first knuckle of your index fingers as they rest on the lever. Tip: if you spend a ton of time way off the back of the saddle on DH runs, tilt the brakes back up a bit to make them easier to reach.
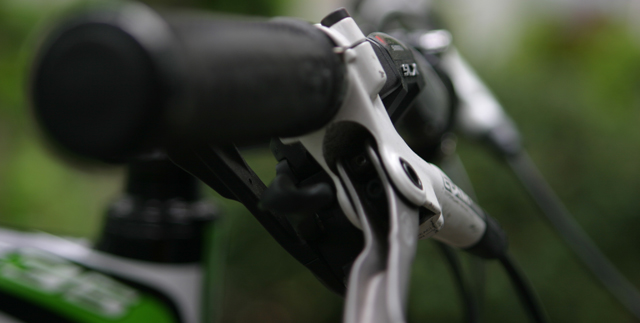
Shift levers
 Keep it moveable but snug so you can tweak as you go.
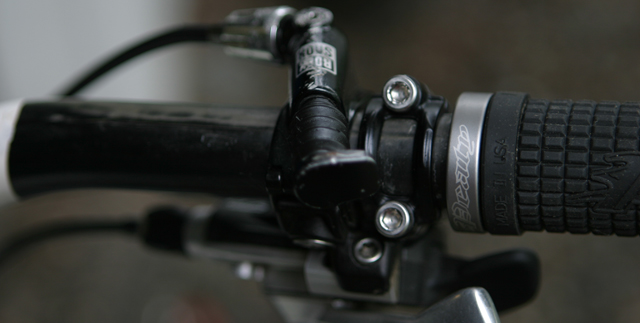
Once you have brake levers sorted, position
shifters by sliding them so your thumbs and hands move minimally to operate while riding. Be able to grab or drop some gears by just thinking about it.
 For me
shift lever housings butt directly underneath the brakes with the shifter clamps inboard
a few millimeters from the brake clamps.
For me
shift lever housings butt directly underneath the brakes with the shifter clamps inboard
a few millimeters from the brake clamps.
Keep both brake and shifter mounting bolts just loose enough to adjust as you simulating riding position on and off the bike. Snug them down and make sure the motion of the shifters doesn’t interfere with brake lever operation. Click them up and down and grab the levers to check.
Make sure both left and right hand controls are tilted down at the same angle. Slight variations eventually lead to insanity.
Inboard/outboard position
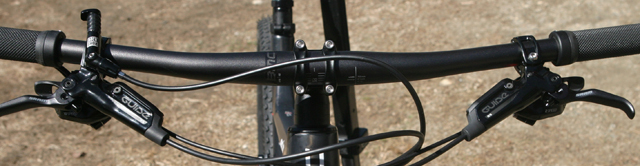
As you get the rotation dialed in, move the brake/shifter combo in or outboard on the handlebars so hands are properly spaced for your body. Some folks like to brake with their middle finger, they will move brakes outboard from the shifters a bit more. A good tip here is to have your hands the same width you would naturally use for a push up, tweaking narrower or wider for personal preference.
If you need to move controls inboard a lot, think about trimming your bar-ends with a hacksaw so grips fit properly next to the shifters. I’m a fan of wider bars and hand position, so my shifters/brakes are moved pretty much all the way out to the grips.
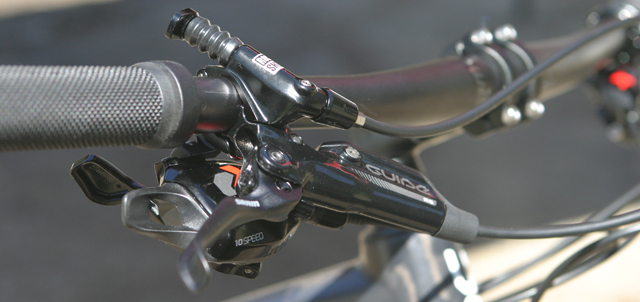
Dropper post lever
 Left or right, over or under? Gunnar Waldman photo.
This is a matter of personal preference. If you’re running a 1x10 or 11 drivetrain, it seems like left side, under handlebar makes sense–where the front derailleur shifters used to be. Mine is on the right over the bar because that’s what I bought a few years ago and now I’m used to it. Move it to where your hand moves off the grips least to operate.
Stem & Handlebar angle
 A stem can get
cattywampus on your steerer tube after a crash.
A stem can get
cattywampus on your steerer tube after a crash.
Even a hair off center bothers the heck out of me. Loosen the stem’s clamp bolts (that attach it to the steerer tube) so you can move it, but keep some resistance. Holding the handlebars with your hands and the front wheel between your feet, nudge it so it's straight. Once it looks right, tighten it up and ride it around the block. Guaranteed you’ll need to tweak it slightly a few times.
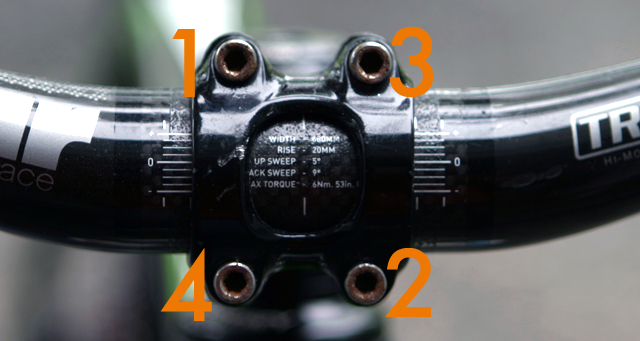
If your handlebars have a 'rise' and/or 'sweep' to them (meaning it's not perfectly flat), you can play with rotating the whole handlebar forward or rearward in the stem to move the controls back toward your body or farther away. To rotate the bar, you'll loosen the stem bolts. Of course this will mean you'll have to go back and tweak the brakes and shifters again, but that's no big deal.
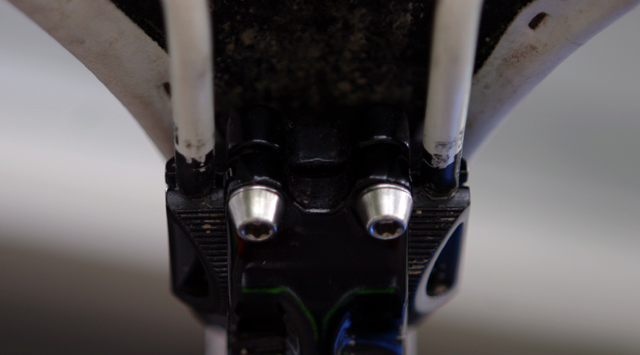
When you have it where you want it, tighten the stem bolts down evenly, don't just crank the top ones and then the bottom ones. Use a diagonal pattern, as shown.
 This is also the place to use a torque wrench and NOT over-tighten.
Too much force can weaken the bar and cause it to fail while riding. If you don't have a torque wrench, use about as much force as it takes to turn a doorknob.
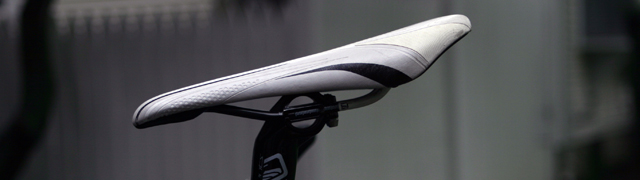
Saddle
 Loosen the torx/hex bolts underneath the saddle
and slide the rails fore or aft in the clamps so your sit bones (or ischial tuberosity) naturally come down on the widest
part of the saddle. If you've rotated the handlebar, moved the controls outboard or added a different stem, you probably need to move the saddle around a bit.
Loosen the torx/hex bolts underneath the saddle
and slide the rails fore or aft in the clamps so your sit bones (or ischial tuberosity) naturally come down on the widest
part of the saddle. If you've rotated the handlebar, moved the controls outboard or added a different stem, you probably need to move the saddle around a bit.
I’ve always kept the seat level and not tilted the nose down to add a bit of torque for climbing, but you do you.
 Experiment if you want, no one
is judging you.
Experiment if you want, no one
is judging you.
For saddle height; If you have a dropper, adjust the post height for climbing, keeping a 15-degree bend in your knee when one foot is in the 6 o'clock (bottom) position. If you have a fixed seat post you might want to lower it a bit so it isn't in your way on descents.
Cleat position
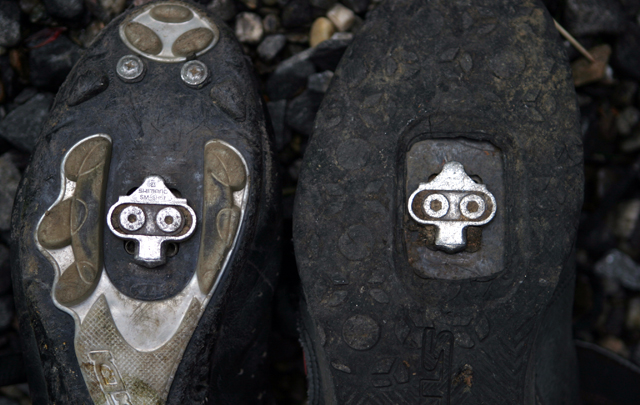 Looks like one of my shoes needs a new cleat.
Hey, it’s a contact point. Side your spd cleat back toward the middle of your foot to engage the stronger quad muscles more. Or keep it under the ball of your foot to engage your whole leg, including calf muscle. I keep mine under the ball of my foot because my calves need all the help they can get and, hey, when quads are blasted, recruiting other muscles to do some work seems like a good idea.
Done, check that all is tight, then go out and ride.
About The Author
stash member Gunnar Waldman
Editor-at-Large, IMBA instructor and east-coaster. Raced Trans-Savoie in France, SoCal Enduro and Endurance in Temecula and is psyched for all the great new races in the east. Article Ideas: gunnar.waldman@tetongravity.com
JohnBoy
May 26th, 2015
Great article and I’m going out to by a torque wrench today.